

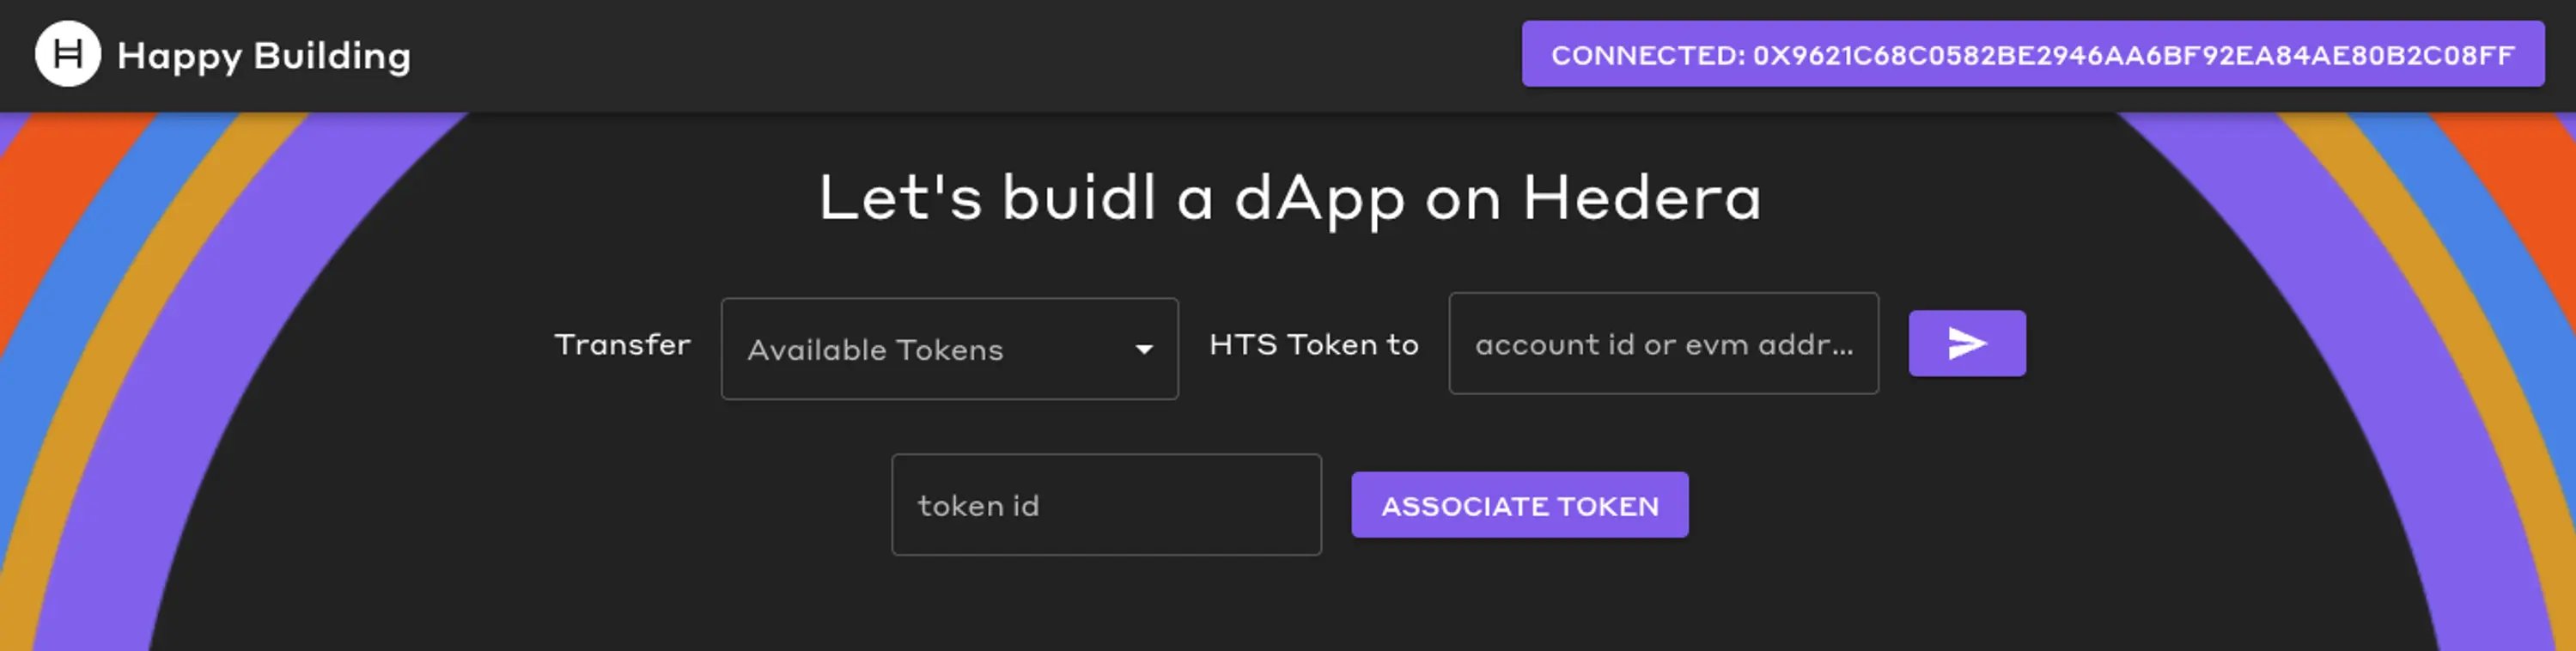
What you will accomplish
- Query the mirror node for account token balance, token information, and Non-fungible information.
- Query the mirror node to check if the receiver has associated with a token ID
- Associate an HTS token with HashPack, Kabila, or MetaMask through a UI
- Transfer an HTS token through a UI
Prerequisites
Before you begin, you should be familiar with the following:Also, you should have the following set up on your computer ⬇
Also, you should have the following set up on your computer ⬇
-
gitinstalled- Minimum version: 2.37
- Recommended: Install Git (Github)
- A code editor or IDE
- Recommended: VS Code. Install VS Code (Visual Studio)
- NodeJs + npm installed
- Minimum version of NodeJs: 18
- Minimum version of npm: 9.5
- Recommended for Linux & Mac: nvm
- Recommended for Windows: nvm-windows
Check your prerequisites set up ⬇
Check your prerequisites set up ⬇
Open your terminal, and enter the following commands.Each of these commands should output some text that includes a version number, for example:If the output contains text similar to
command not found, please install that item.Get Started
We choose to scaffold our project by using the CRA Hedera DApp template, as it offers:- Multi-wallet integration via walletconnect supporting MetaMask and Hedera native wallets
- Mirror Node Client
- State management via React Context
- Material UI
- Choice of TypeScript or JavaScript
Template Project Repos
Template Project Repos
1. Scaffold your project
Open a terminal and run the following command to set up your project structure, replacingmy-app-name with your desired directory name.
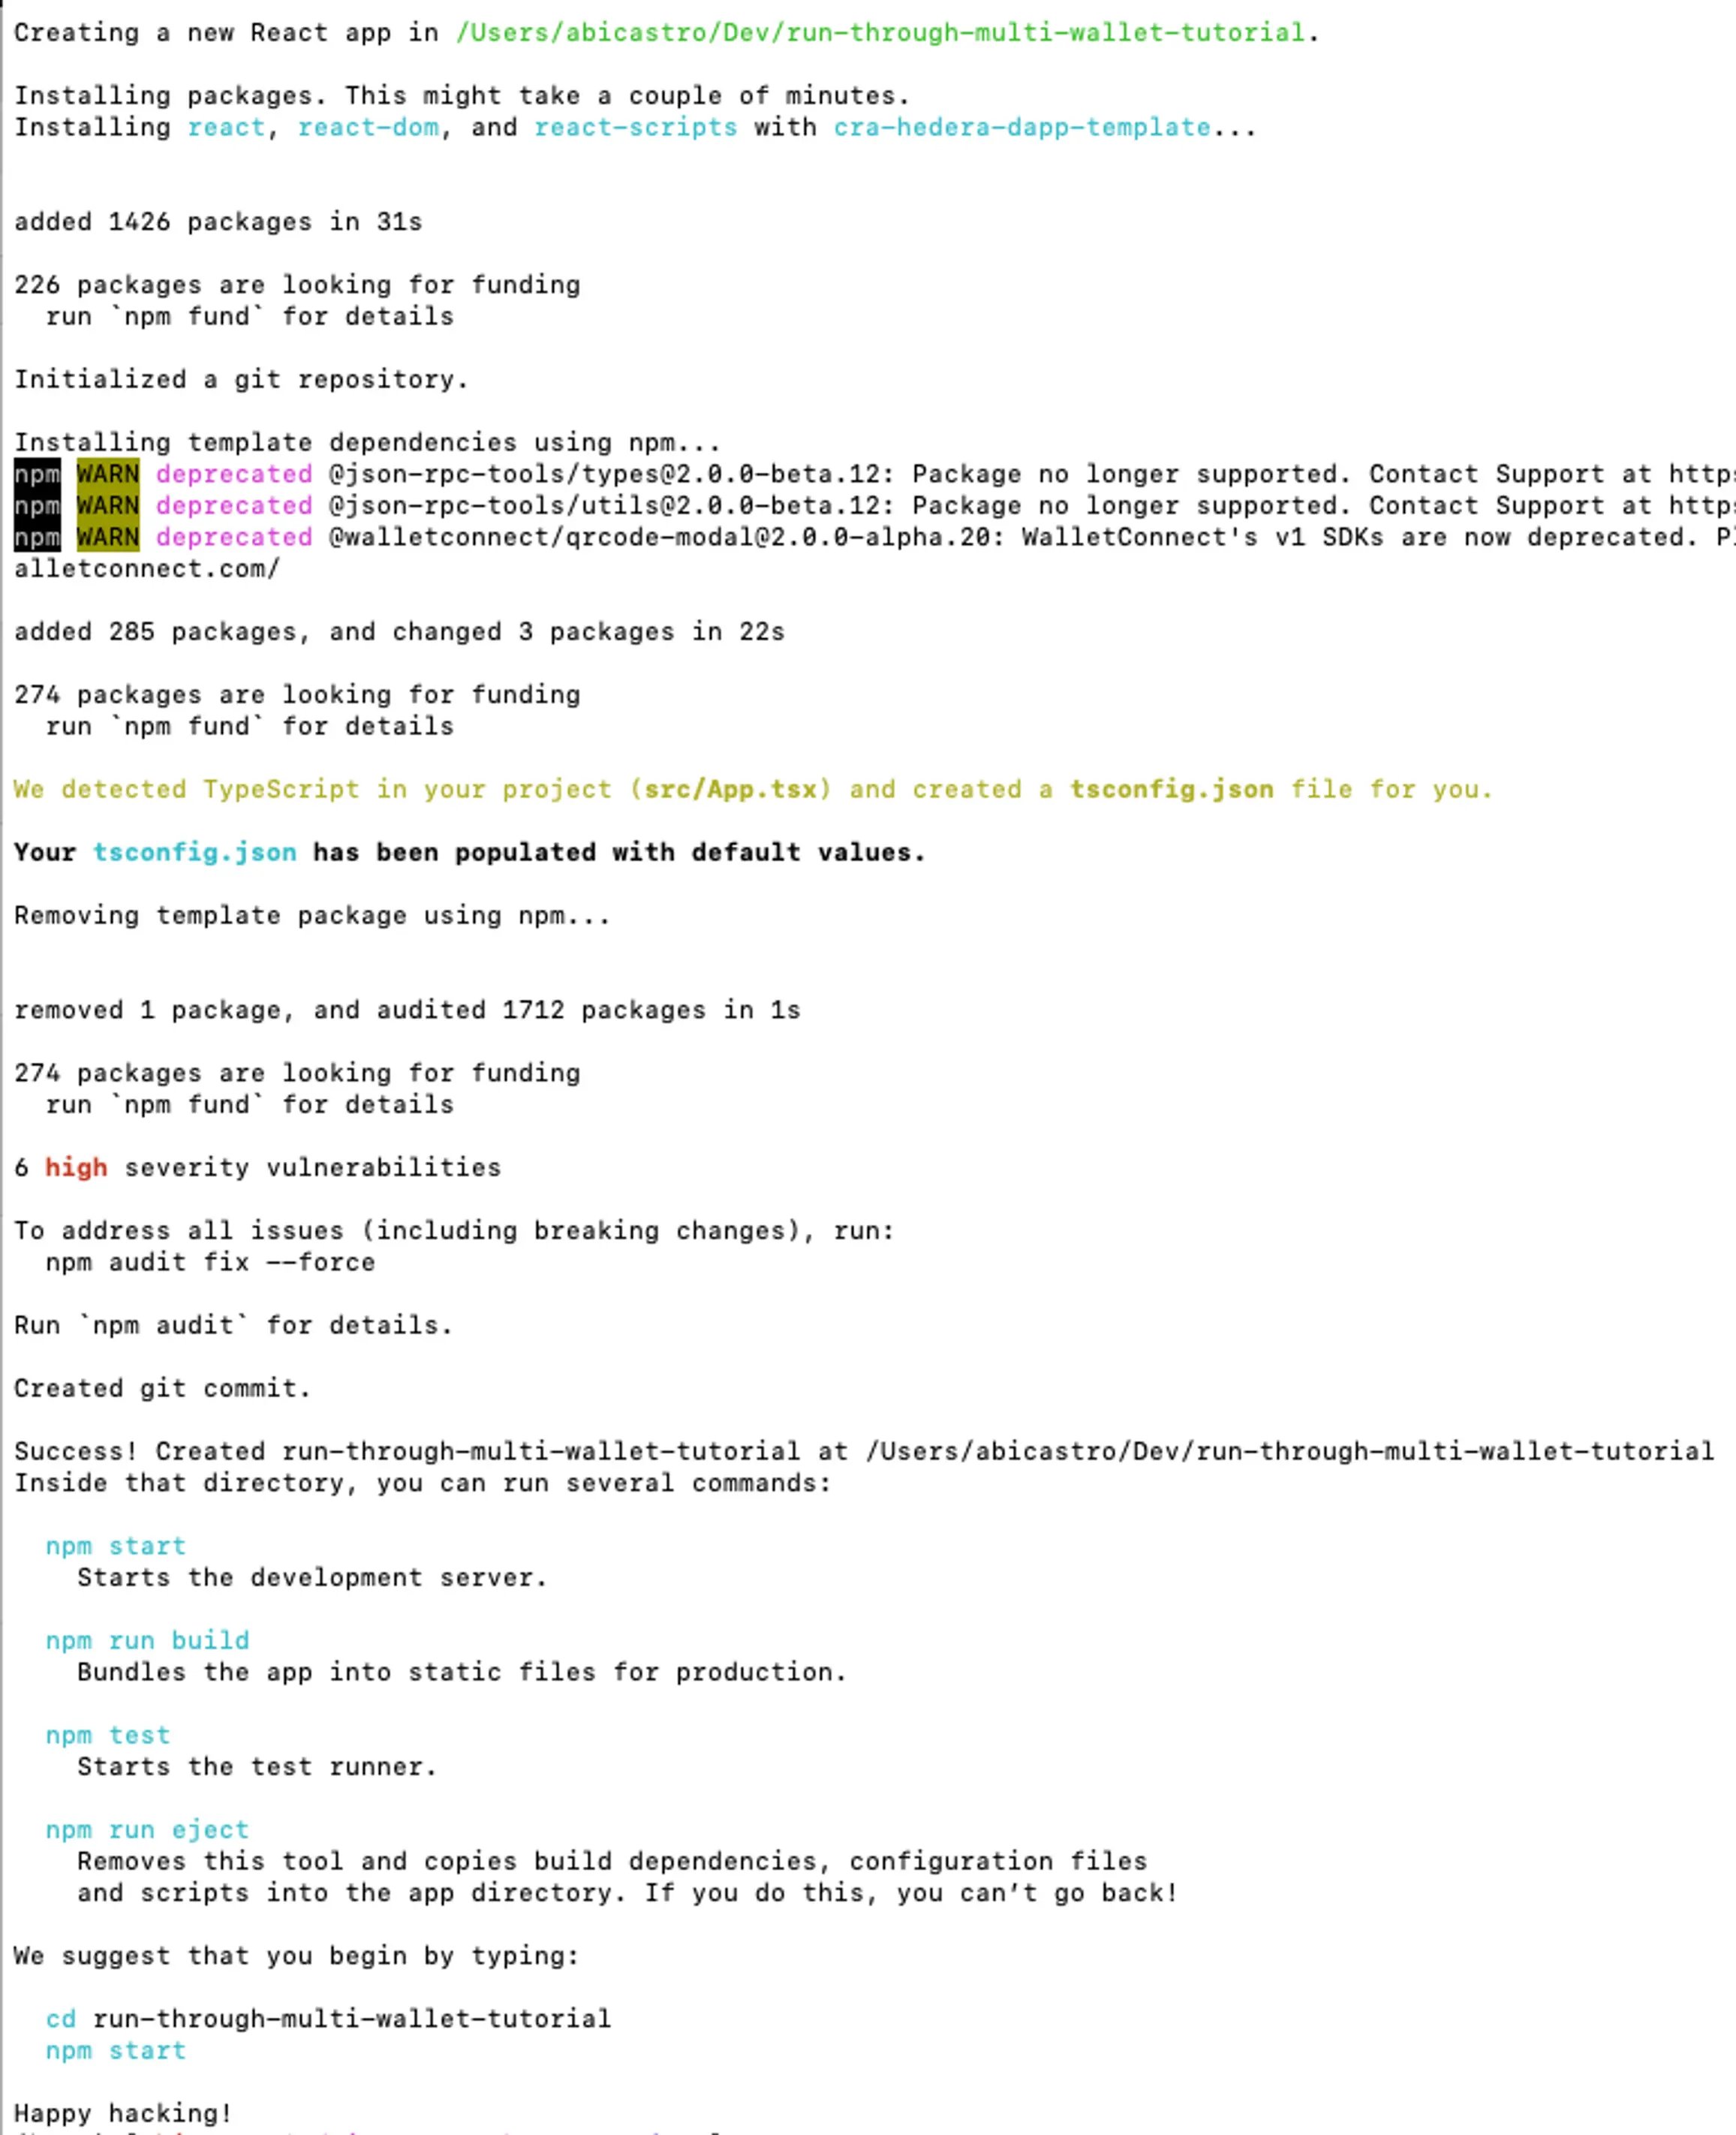
Scaffolding project expected output
Scaffolding project expected output
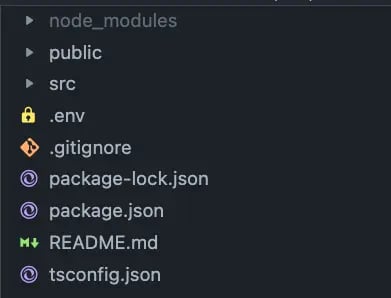
2. Fetching Token Data: Writing Mirror Node API Queries
Mirror nodes offer access to historical data from the Hedera network while optimizing the use of network resources. You can easily retrieve information like transactions, records, events, and balances. Visit the mirror node API docs to learn more. In vscode open the file located atsrc/services/wallets/mirrorNodeClient.ts.
This file creates a mirror node client and is used to fetch data from the mirror nodes. We will add new code to help us obtain information about the tokens we currently own.
This client is configured for the Hedera Testnet. For further configuration, go to
src/config/network.ts.2.1 Query Account Token Balances by Account ID
We’ll use the Mirror Node API to query information about the tokens we currently own and the quantities of those tokens. Opensrc/services/wallets/mirrorNodeClient.ts and paste the below interface outside of and above the MirrorNodeClient class.
This interface defines the data fields we need for our DApp, filtering out any extra data from the mirror node response.
MirrorNodeClient class in the src/services/wallets/mirrorNodeClient.ts file.
File Checkpoint
File Checkpoint
To ensure you’re on the right track, your `src/services/wallets/mirrorNodeClient.ts` file should look like below.
2.2 Query Token Information by Token ID
In the previous step we wrote code to obtain the current token balance of an account. Next we will retieve the type of token (Non-Fungible or Fungible), decimal precision, token name and symbol. Opensrc/services/wallets/mirrorNodeClient.ts and paste the interface outside of and above the MirrorNodeClient class.
getAccountTokenBalances function in the src/services/wallets/mirrorNodeClient.ts file.
2.3 Query Account NFT Information by AccountID
In the previous step we wrote code to obtain the token details (token type, decimals, name, and symbol). Next we will retrieve the NFT serial numbers that are owned. Opensrc/services/wallets/mirrorNodeClient.ts and paste the interface outside of and above the MirrorNodeClient class.
getTokenInfo function in the src/services/wallets/mirrorNodeClient.ts file.
2.4 Combine Account Token Balances and Token Information via Data Aggregation
We need to combine all of our HTTP response data in order to display our available tokens in our DApp. Opensrc/services/wallets/mirrorNodeClient.ts and paste the interface outside of and above the MirrorNodeClient class.
getNftInfo function in the src/services/wallets/mirrorNodeClient.ts file.
The
getAccountTokenBalancesWithTokenInfo combines token balances, token info and, NFT info in order to display our available tokens in our DApp.Complete `mirrorNodeClient.ts` file Checkpoint
Complete `mirrorNodeClient.ts` file Checkpoint
To ensure you’re on the right track, your `src/services/wallets/mirrorNodeClient.ts` file should look like below.
2.5 Add Token Association Support
Before a user can receive a new token, they must associate with it. This association helps protect users from receiving unwanted tokens. Opensrc/services/wallets/mirrorNodeClient.ts and paste the function below the getAccountTokenBalancesWithTokenInfo function.
3. Adding in the User Interface
In this step, we’ll copy and paste the home.tsx file, which contains all the necessary code for adding UI components that enable token transfers and association with a token. Opensrc/pages/Home.tsx and replace the existing code by pasting the below code:
`Home.tx` file
`Home.tx` file
The crucial part of the code is found within the following code:This code fetches and updates the list of tokens a user owns providing the available tokens to the dropdown menu.
4. Testing DApp Functionality
The application is ready to be started and tested. You will be testing:- Connect to a DApp with a Hedera native wallet through WalletConnect
- Associate a token
- Transfer a token to a receiver account
4.1 Test Setup
You’ll be creating four Hedera Testnet accounts, each with a balance of 10 HBAR. Two of these accounts will come pre-loaded with their own fungible tokens, and four accounts will come pre-loaded with their own non-fungible tokens (NFTs). Open a new terminal window and create a new directory and change into that directoryhedera-test-accounts folder in a new visual studio code window.
Create a new file and name it .env with the following contents. Remember to enter your account ID and your private key.
hedera-test-accounts home directory, execute the following command in the terminal,
Keep this terminal open for the remainder of the tutorial, as you will refer back to it.
Test Accounts Sample Output
Test Accounts Sample Output
4.2 Import Sender and Receiver accounts
Import the sender and receiver accounts that were just outputted into your preferred wallet application. (MetaMask, HashPack, or Kabila) For assistance on how to import a Hedera account into MetaMask refer to our documentation here.Rename your imported accounts within your preferred wallet to keep track which is the sender and receiver account.
4.3 Start the DApp
Navigate back to your application in Visual Studio Code, and in the terminal, run the following command
4.4 Connect to DApp as the Receiver
Click theConnect Wallet button in the upper right and select MetaMask and select the Sender account.
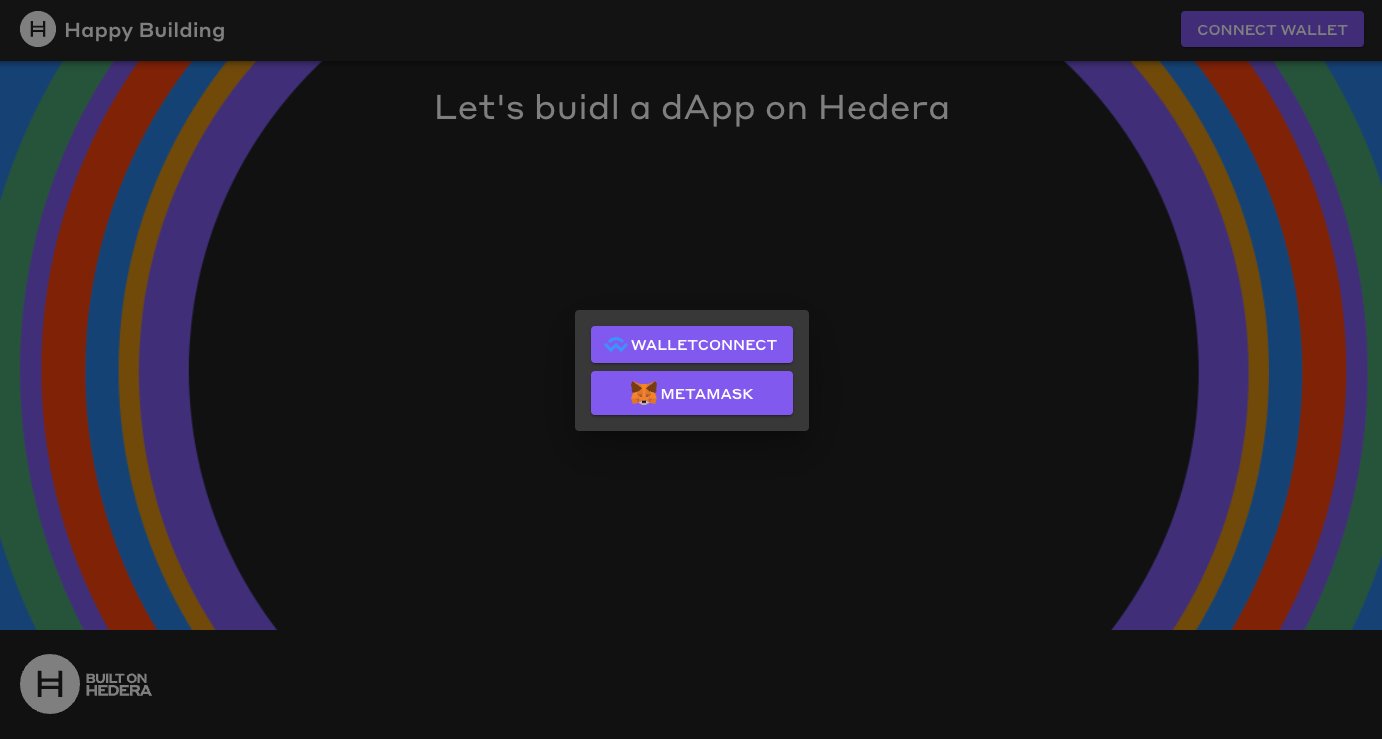
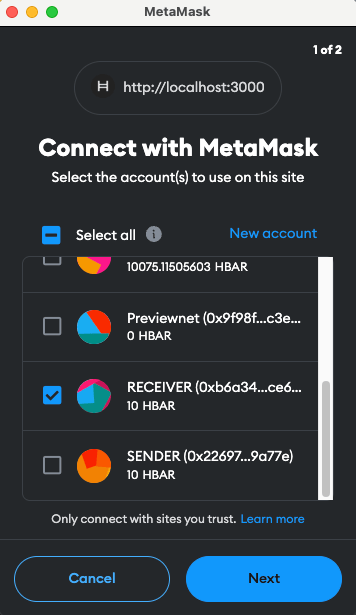
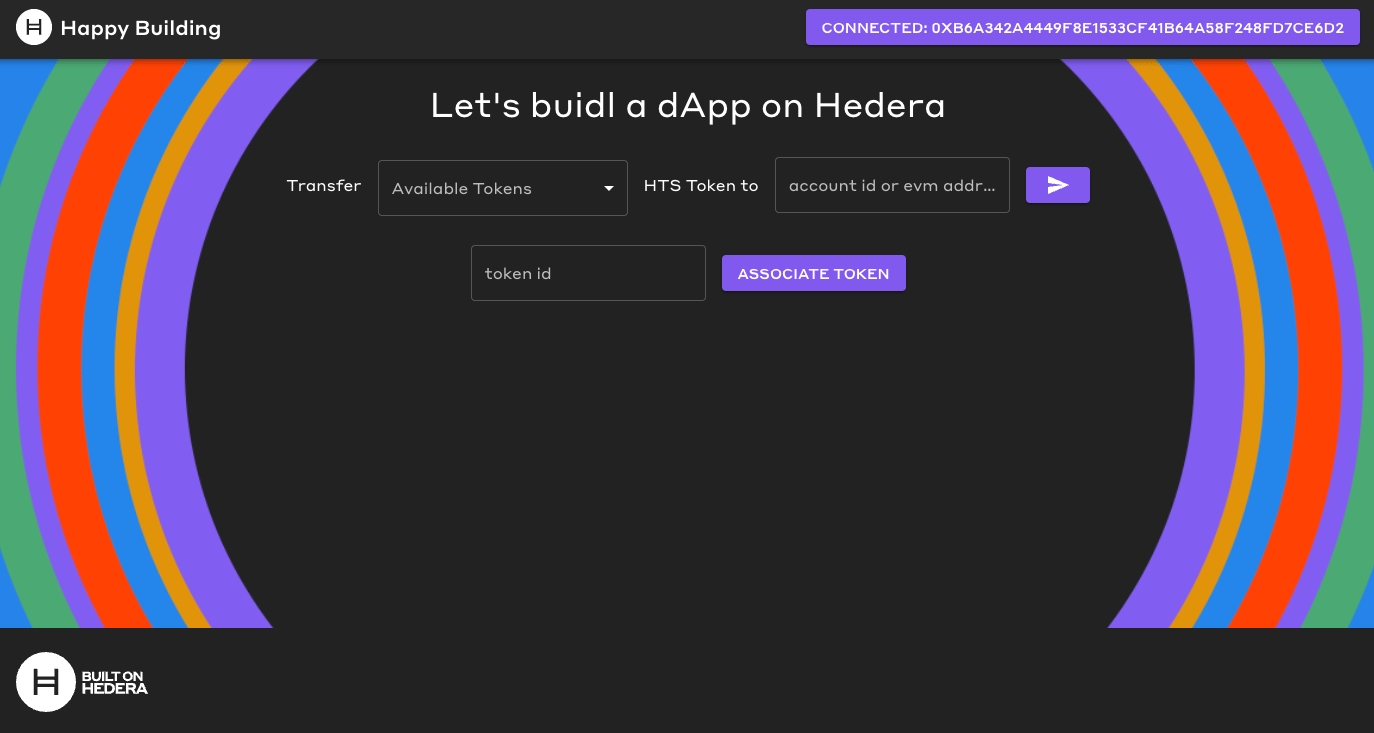
WalletConnect Instructions
WalletConnect Instructions
Open HashPack and unlock your walletGo back to the DApp homepage and click ‘Connect Wallet’Choose WalletConnectCopy the connection string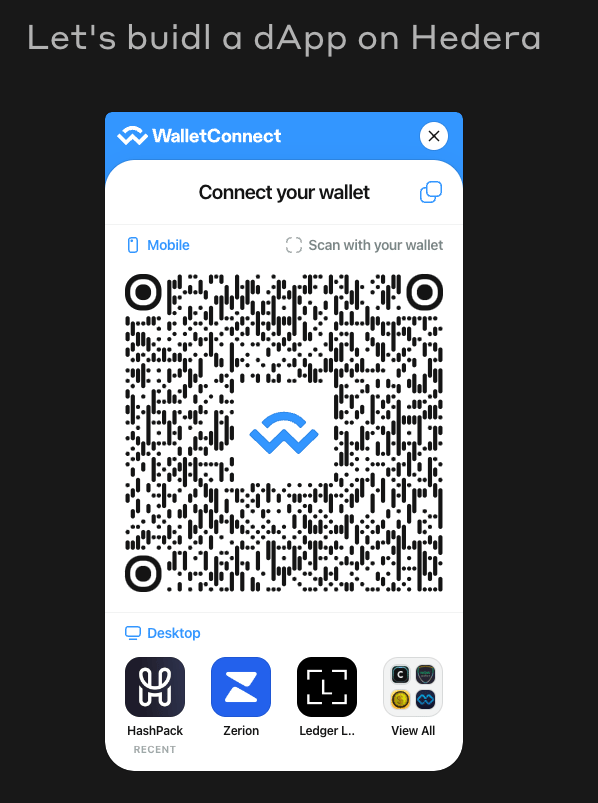
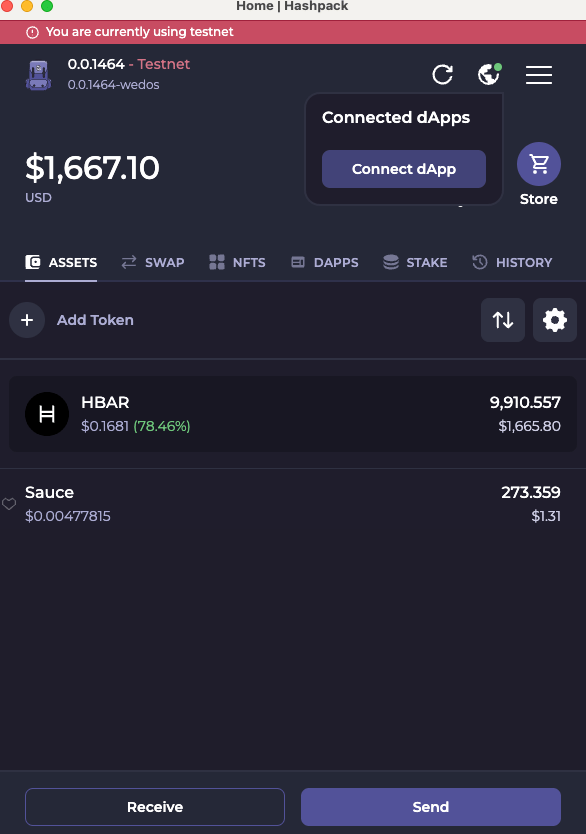
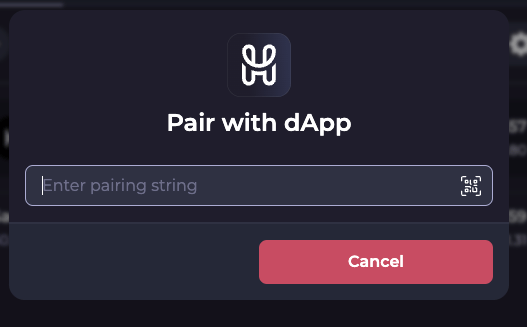
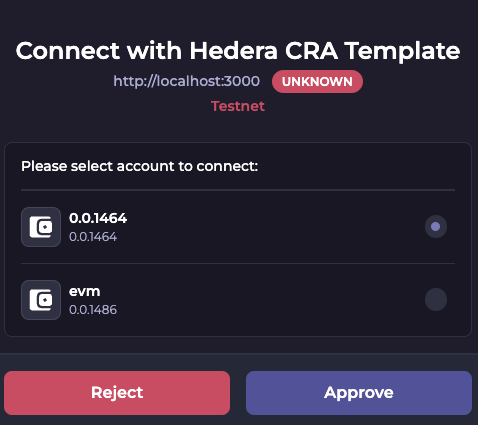
4.5 Associate Receiver Account with Sender Account NFT
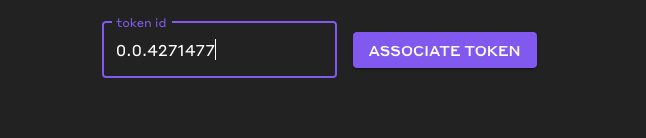
Open the output of the test accounts you created earlier and copy theecdsaWithAlias Sender’s account NftTokenId
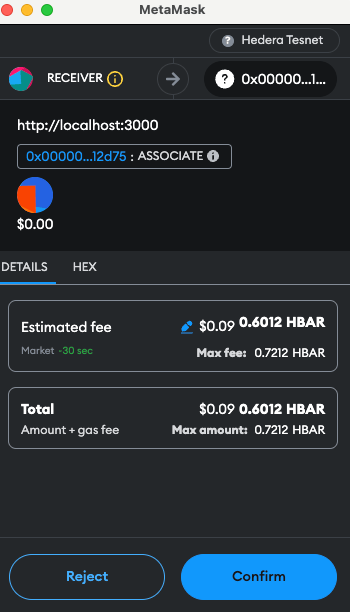
Paste the NftTokenId in the DApps associate token textbox and click the button Associate
4.6 Transfer NFT to Receiver Account
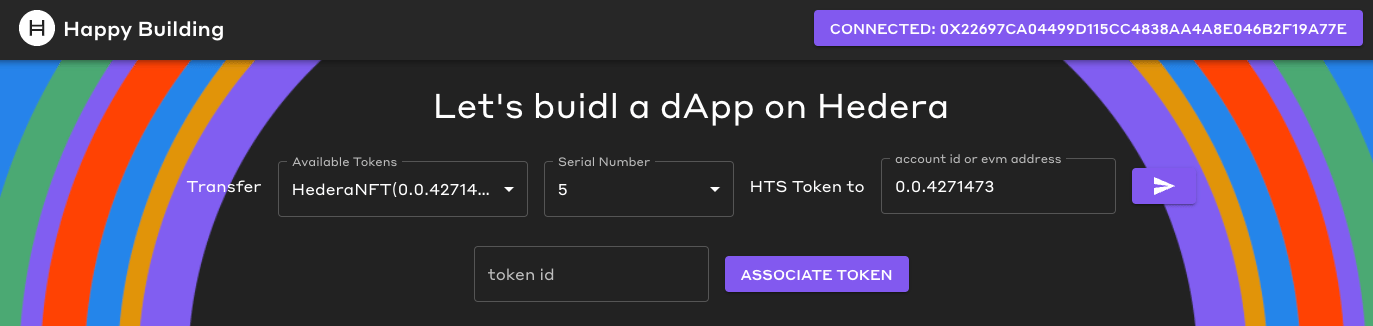
Disconnect as the Receiver account and reconnect with the Sender account. To do this, open the MetaMask extension, click on the three dots in the upper right, select “Connected Sites,” and then disconnect the Receiver account. All other wallets disconnect by clicking on your account ID in the upper right of the DApp homepage. Connect to the DApp as the Sender Account. As the Sender,- Select from available tokens the HederaNFT
- Select the NFT with serial number 5 from the drop-down menu.
- Enter the account ID or EVM address of the Receiver account.
- Click the “send” button.
- Sign the transaction on MetaMask to complete the transfer of the NFT from the Sender to the receiver account.
4.7 Verify Receiver Account Receieved the NFT
Disconnect as the Sender account and reconnect as the Receiver account. Check the dropdown menu and ensure the Receiver account has NFT serial number 5.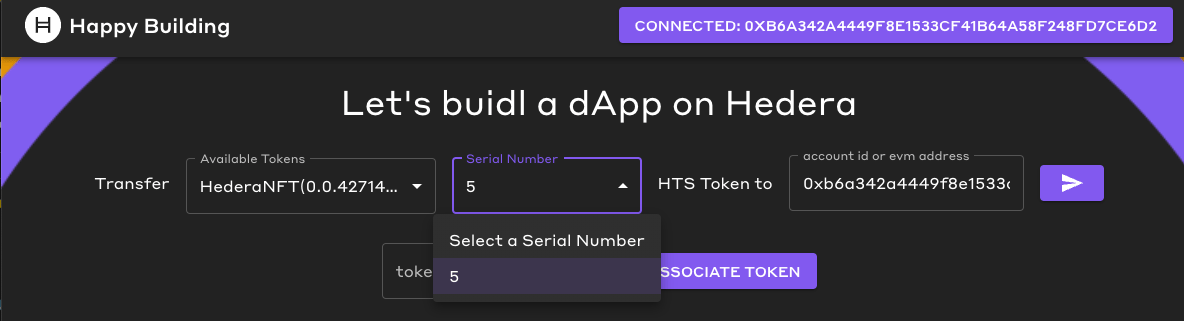
Try with HashPack, Blade or Kabila
Optionally, import your accounts into any of the above Hedera native wallets and test out transferring more tokens.Complete
🎉 Congratulations! You have successfully walked through creating a Hedera DApp that transfers HTS tokens using MetaMask, HashPack, Blade, or Kabila. You have learned how to:- Query the mirror node for account token balance, token information, and Non-fungible information.
- Query the mirror node to check if the receiver has associated with a token ID
- Associate an HTS token with HashPack, Kabila, Blade, or MetaMask through a UI
- Transfer an HTS token through a UI