Interactive Demo
Get firsthand experience with Stablecoin Studio’s capabilities using the open-source, React-based demo application sandbox. The sandbox application is built using Stablecoin Studio’s TypeScript SDK.

1. Code Sandbox
For a quick and effortless start, you can use the pre-configured Code Sandbox environment directly from StablecoinStudio.com. This approach requires no setup and provides a fully functional demo application.

2. GitPod Instance
Another easy way to get started is by launching a GitPod instance, which automates the initial setup and lets you dive into the application immediately. You can skip the prerequisites and installation steps.

3. Local Environment
A more technical method to build and install on your local machine. This guide focuses on this method, walking you through the steps needed to set up your local environment. Start from the first step: Prerequisites.
Prerequisites
- NodeJS >= 18.13
- Solidity >= 0.8.16
- TypeScript >= 4.7
- Git Command Line
- Hedera Testnet Account
- HashPack Wallet
Install Stablecoin Studio
Open a new terminal and navigate to your preferred directory location where you want your Stablecoin Studio project to live. Clone the repo,cd in to the cloned directory, and install dependencies:
cd in to the web directory:
Environment variables
Before we can start the web application, we need to configure the environment variables. From the root of theweb project workspace, rename the .env.sample file to .env and configure the variables required to run the application. For the purposes of this demo, we will need:
- The factory contract ID.
- The REST API testnet endpoint.
- The JSON-RPC relay testnet endpoint.
.env file contains the following parameters:
| Environment Variable | Description |
|---|---|
| REACT_APP_LOG_LEVEL | Log level for the application. The default value is ERROR. Acceptable values are ERROR, WARN, INFO, HTTP, VERBOSE, DEBUG, and SILLY in order of priority (highest to lowest). |
| REACT_APP_FACTORIES | JSON array with a factory contract ID in Hedera format 0.0.XXXXX per environment. |
| REACT_APP_MIRROR_NODE | The var must be a unique mirror node service for Hedera network, and this is the service that would be used when the UI starts. If the service doesn’t require an API key to authorize requests the API_KEY and HEADER properties must remain empty. Here is a list of mirror node endpoints. |
| REACT_APP_RPC_NODE | The var must be a unique RPC node service for Hedera network, and this is the service that would be used when the UI starts. If the service doesn’t require an API key to authorize requests the API_KEY and HEADER properties must remain empty. Here is a list of RPC providers. |
| GENERATE_SOURCEMAP | This is a proprietary Create React App configuration. You can read more information in its Create React App documentation. |
Example configured <code>.env</code> file ✅
Example configured <code>.env</code> file ✅
.env
Start the Web UI
Once you have configured your environment variables, start the web UI from theweb directory:


Create Stablecoins
Basic details (Required)
To initiate the creation of your stablecoin, head to the top of the interface and click on the + symbol. From the options that appear, select “Create coin.” The required fields for basic details will be displayed:- HederaTokenManager impl.: By default, this is set to a factory contract ID provided by Hedera, in the format
0.0.XXXXXX. Advanced users have the option to deploy their own factory contract implementation. - Name: This is where you name your new stablecoin, for example, “NewStableCoin.”
- Symbol: Enter a symbol to represent your stablecoin, like “$NSC.”

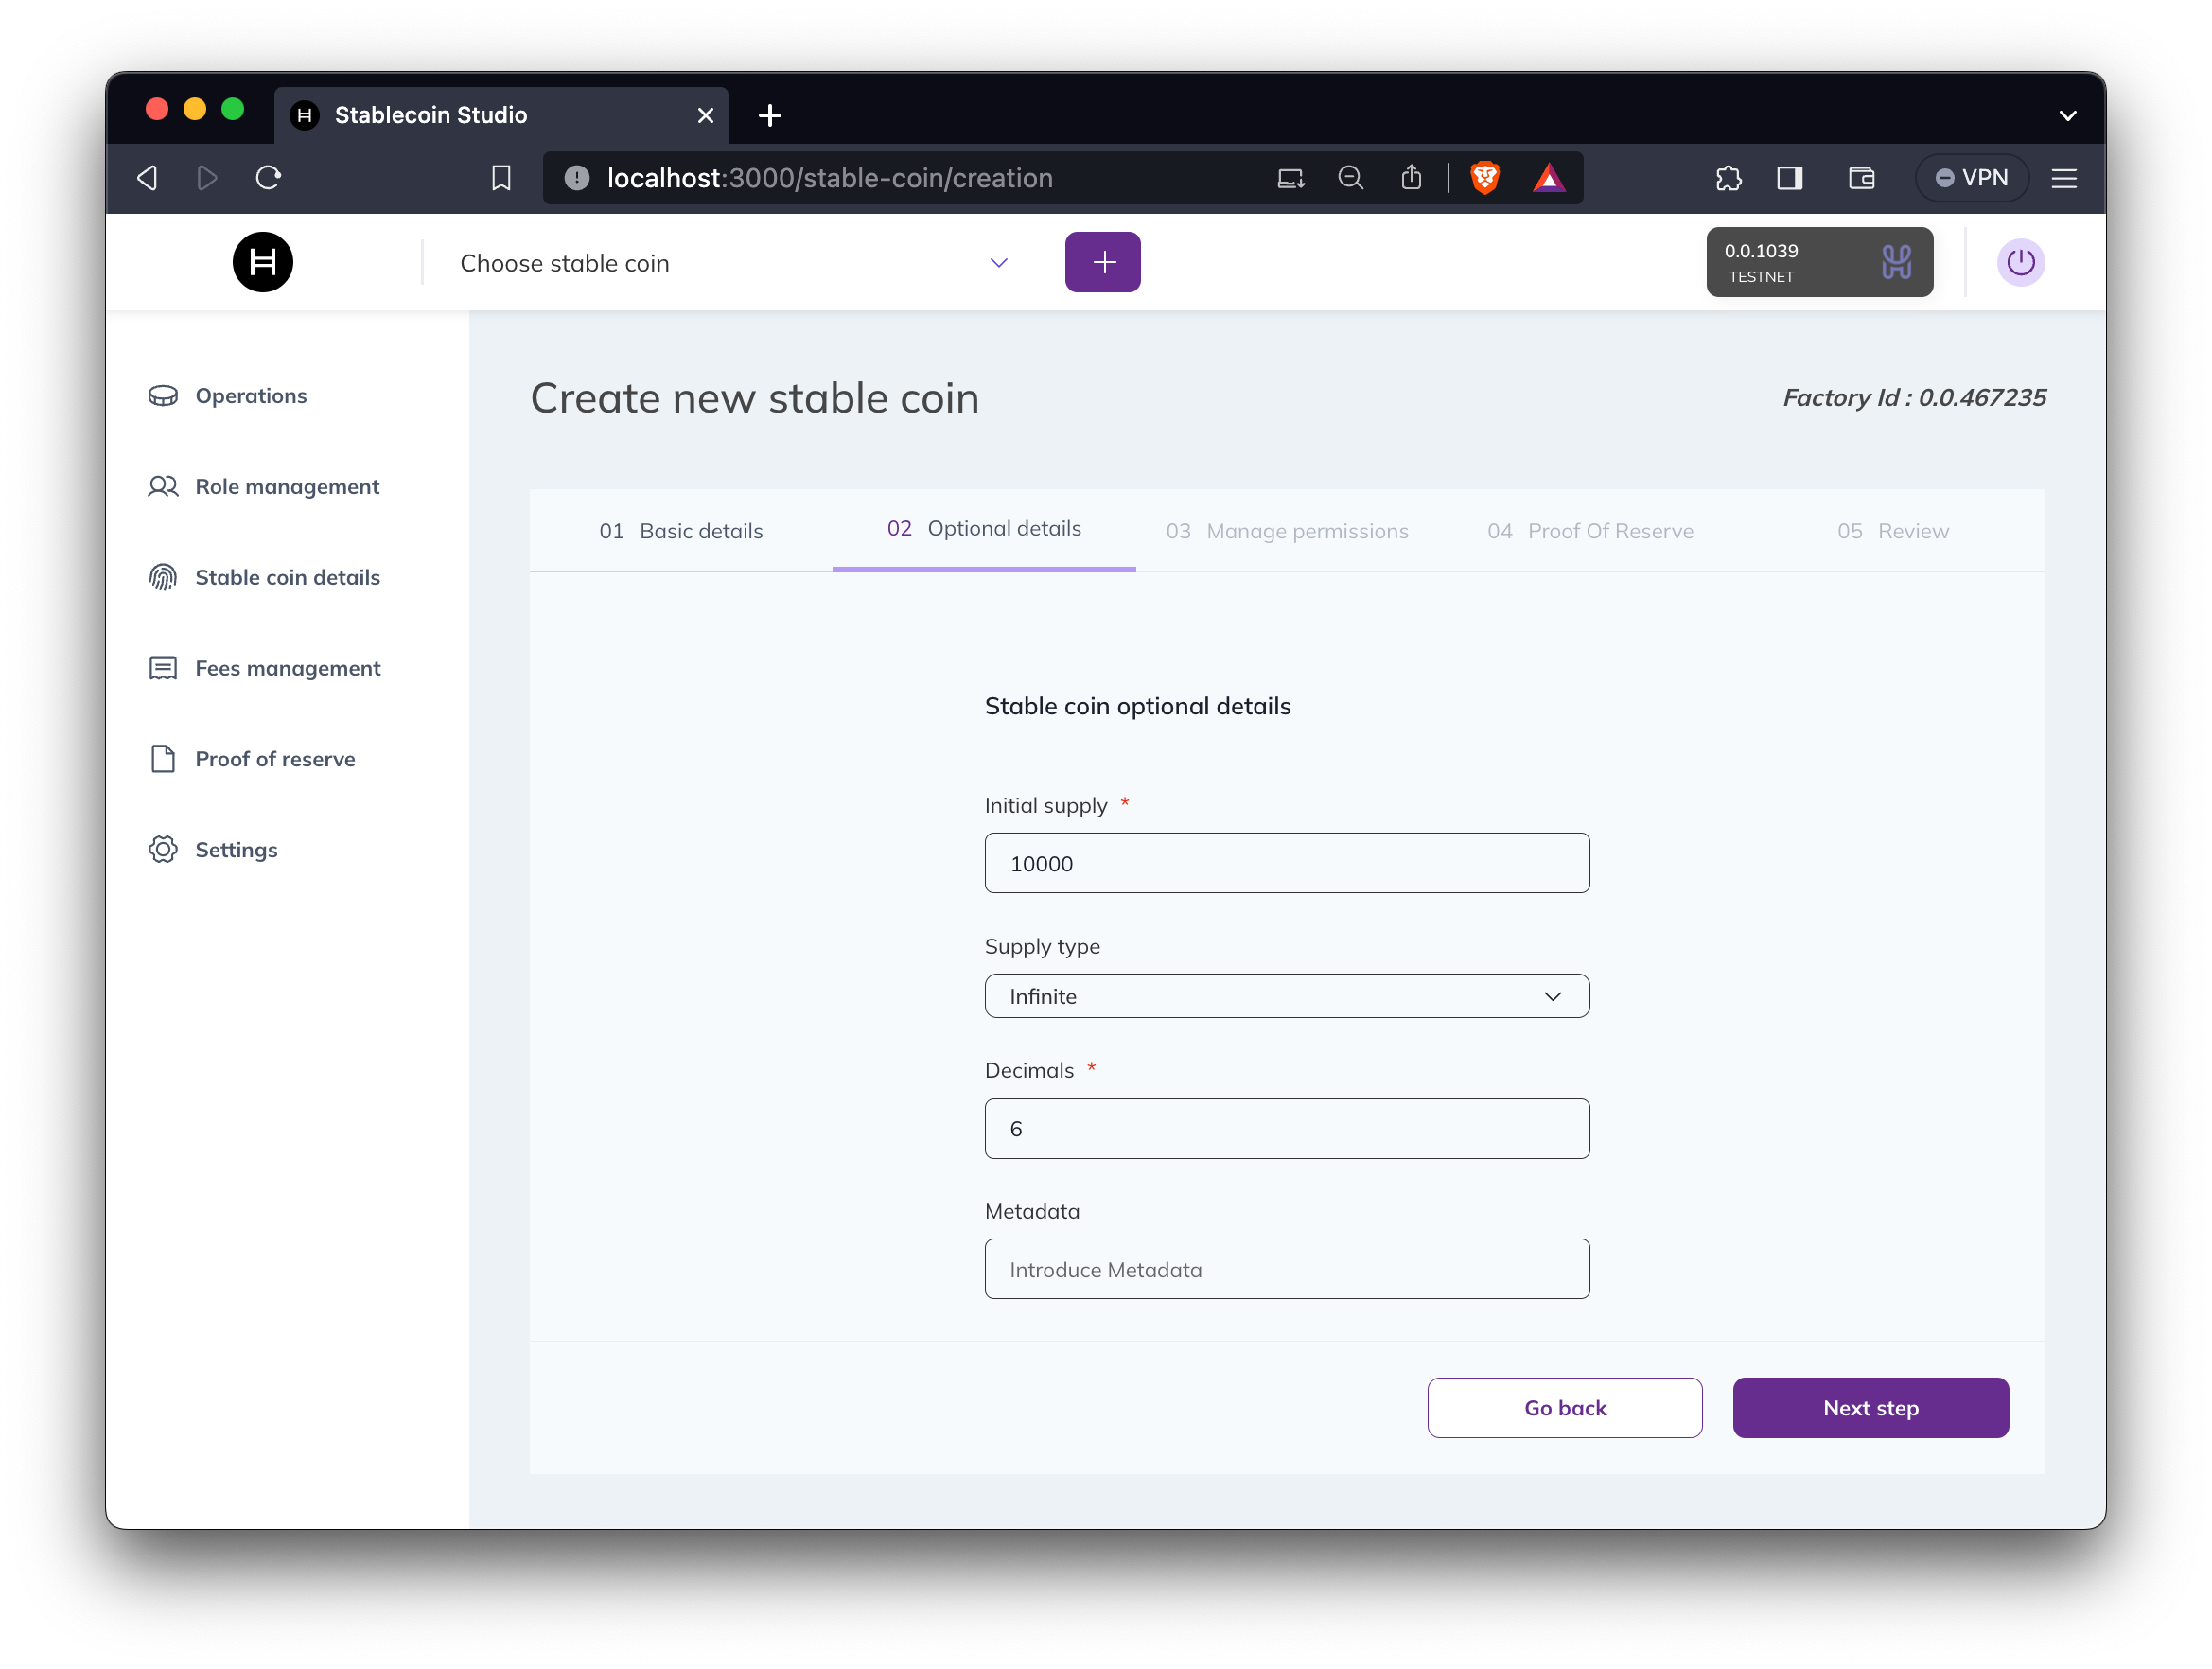
Optional details
While the basic details are mandatory, you also have an option to further specify:- Initial Supply: You can expand on the initial number of tokens that will be minted.
- Max Supply: If you chose ‘Finite’ in the ‘Supply Type,’ you might want to set an upper limit.
- Decimals: You can set additional decimal places if you need more precision.
Manage permissions
When creating a stablecoin, you have multiple key configuration options. One of those is the “Underlying Token’s Keys Definition.” This determines which accounts control various operations of the stablecoin, such as who can approve KYC checks or which account can change the coin supply. You have the flexibility to set these keys to be controlled by the stablecoin’s initial smart contract, assign them to a different key, or even leave them undefined. If the KYC key is tied to the smart contract and the supply key isn’t tied to the account that creates the stablecoin, you can opt to automatically grant KYC verification to the account creating the stablecoin at the time of its creation. As for ownership settings, by default, the account that initiates the stablecoin creation also becomes the stablecoin proxy admin owner. However, you’re not locked into this default setup. You can alter this by specifying a different account ID during creation. This could be any account, including specialized accounts like a timelock controller for scheduled operations or a cold wallet for enhanced security.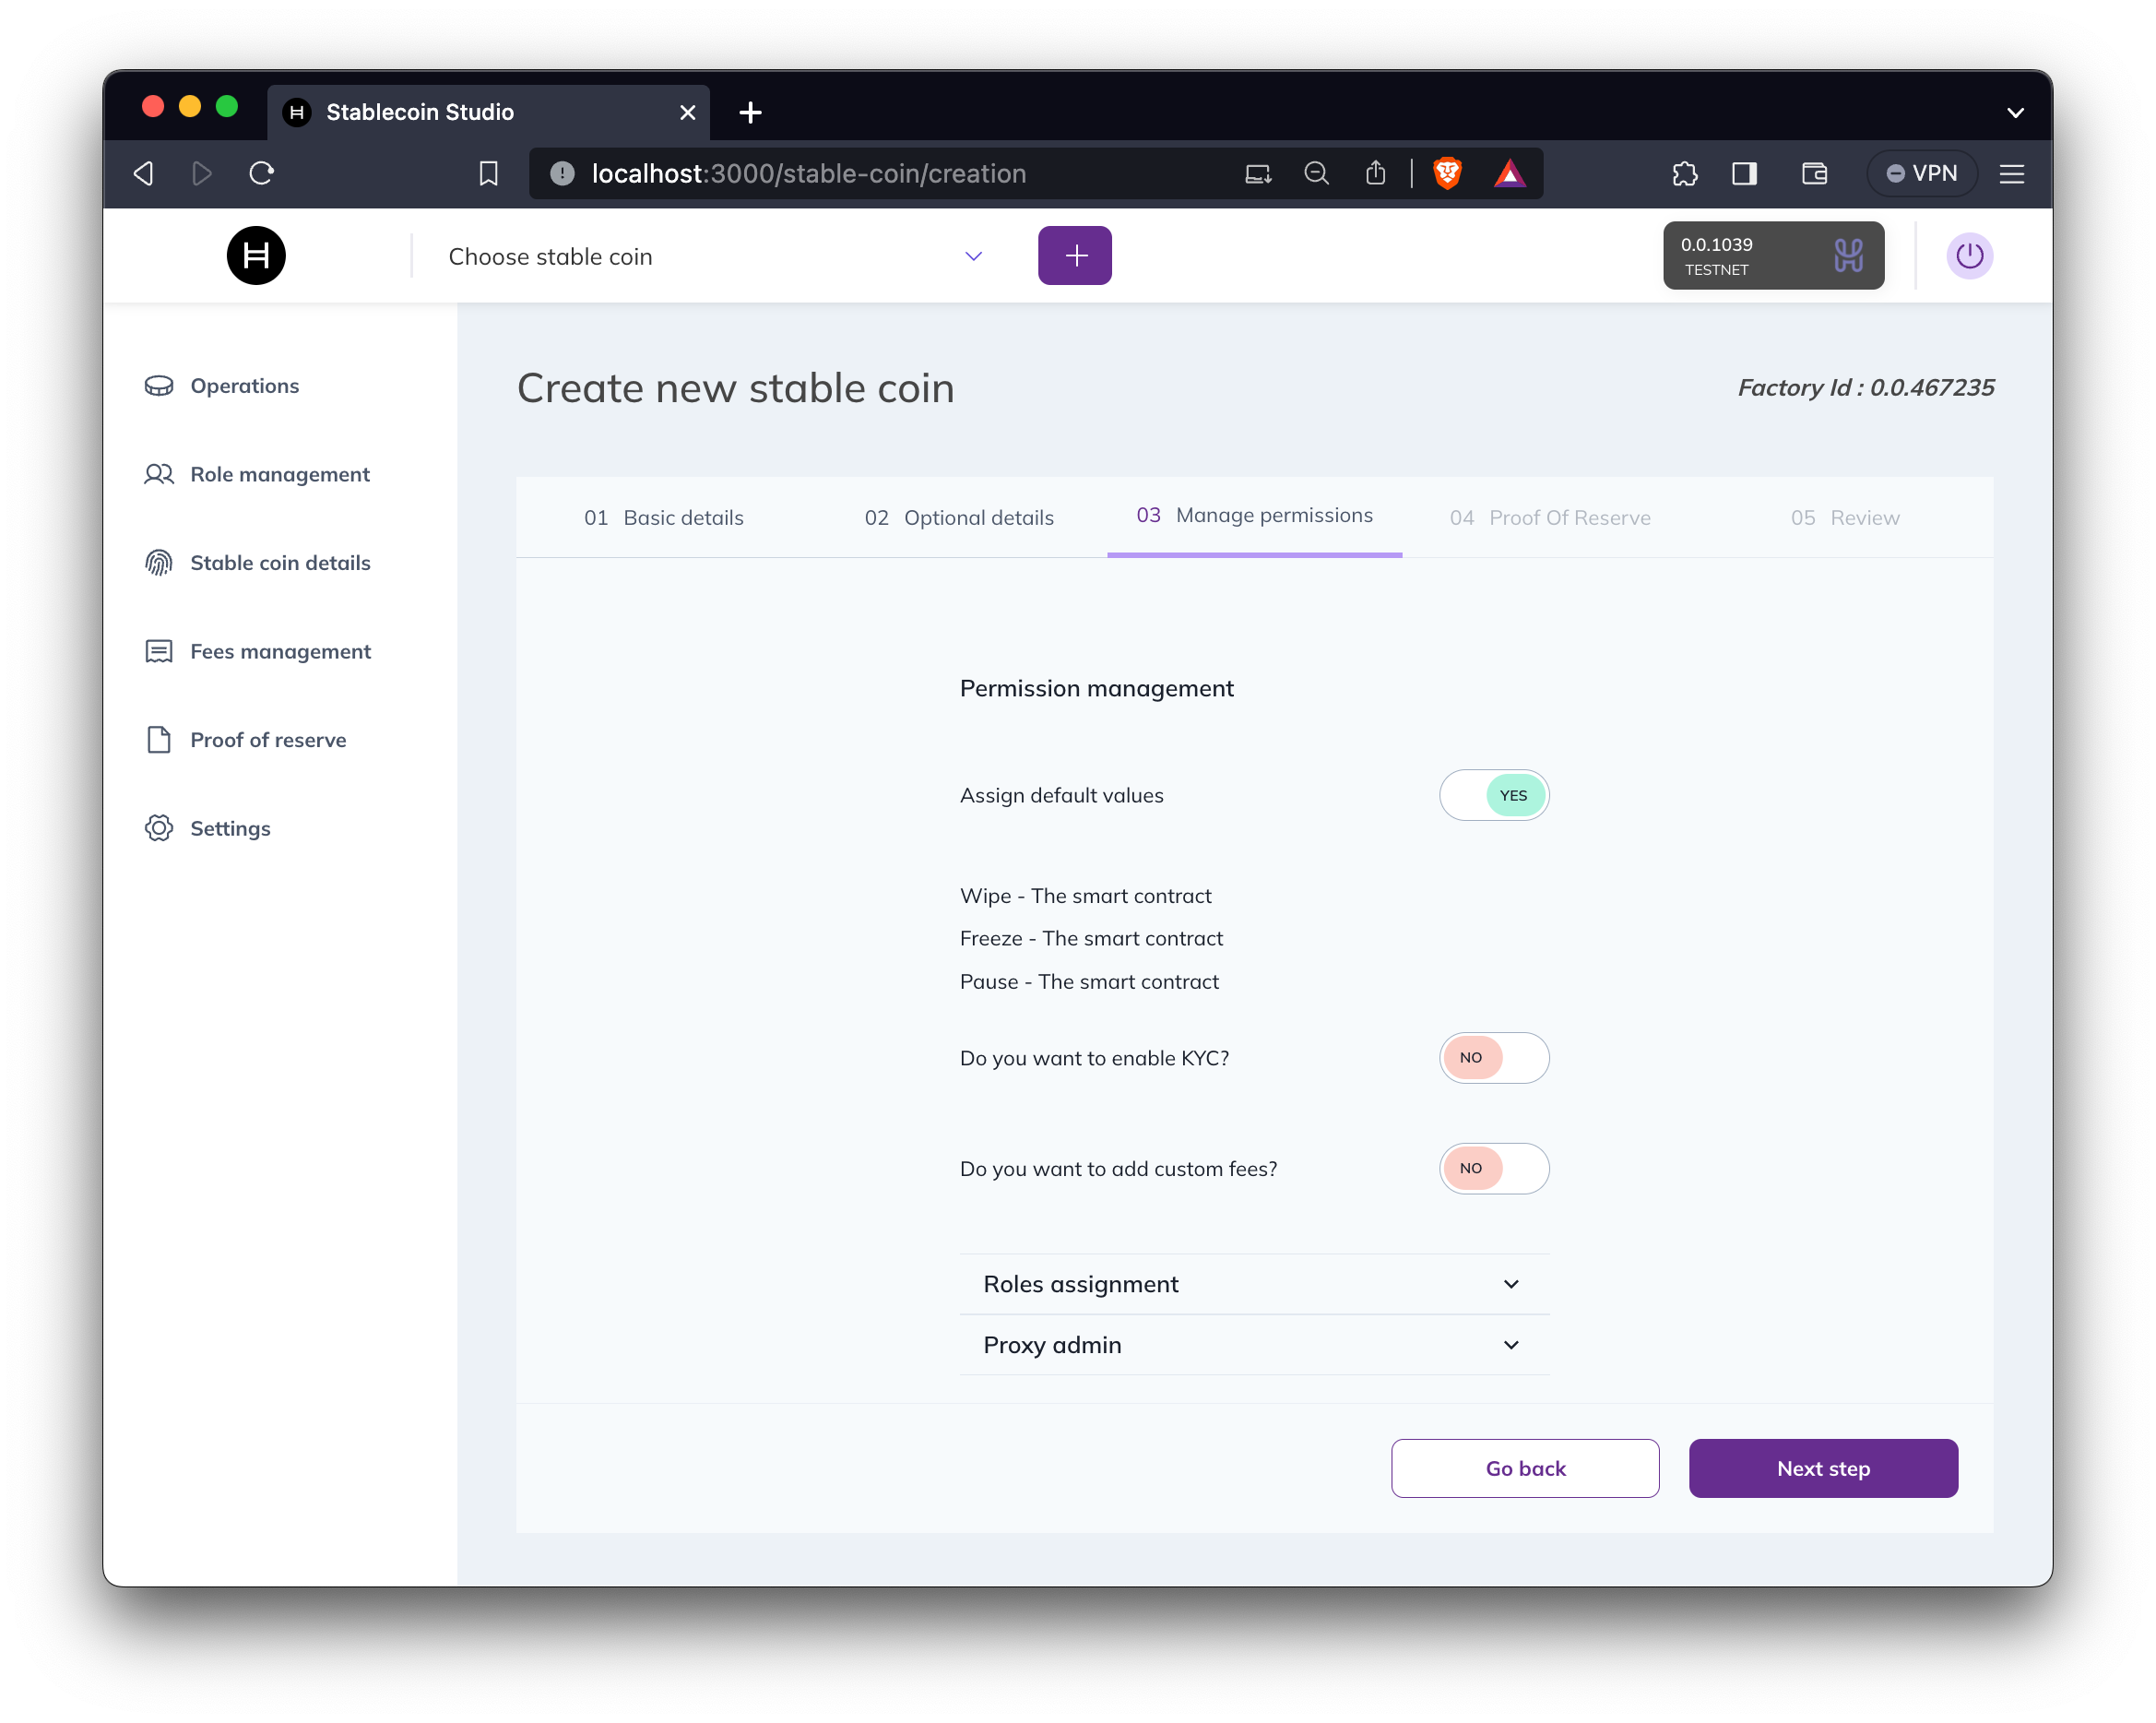
Proof-of-reserve (PoR)
Choose if the stablecoin will be linked to a Proof of Reserve (PoR) contract. You can either use an existing PoR contract address or create a new one using the demo implementation included in the project and setting an initial reserve amount. For those using the project’s demo PoR contract, you also have the option to modify its reserve amount. This can be done via the PoR admin account used during the stablecoin’s deployment. Because the reserve can be changed arbitrarily in the demo, it’s intended for demonstration purposes only.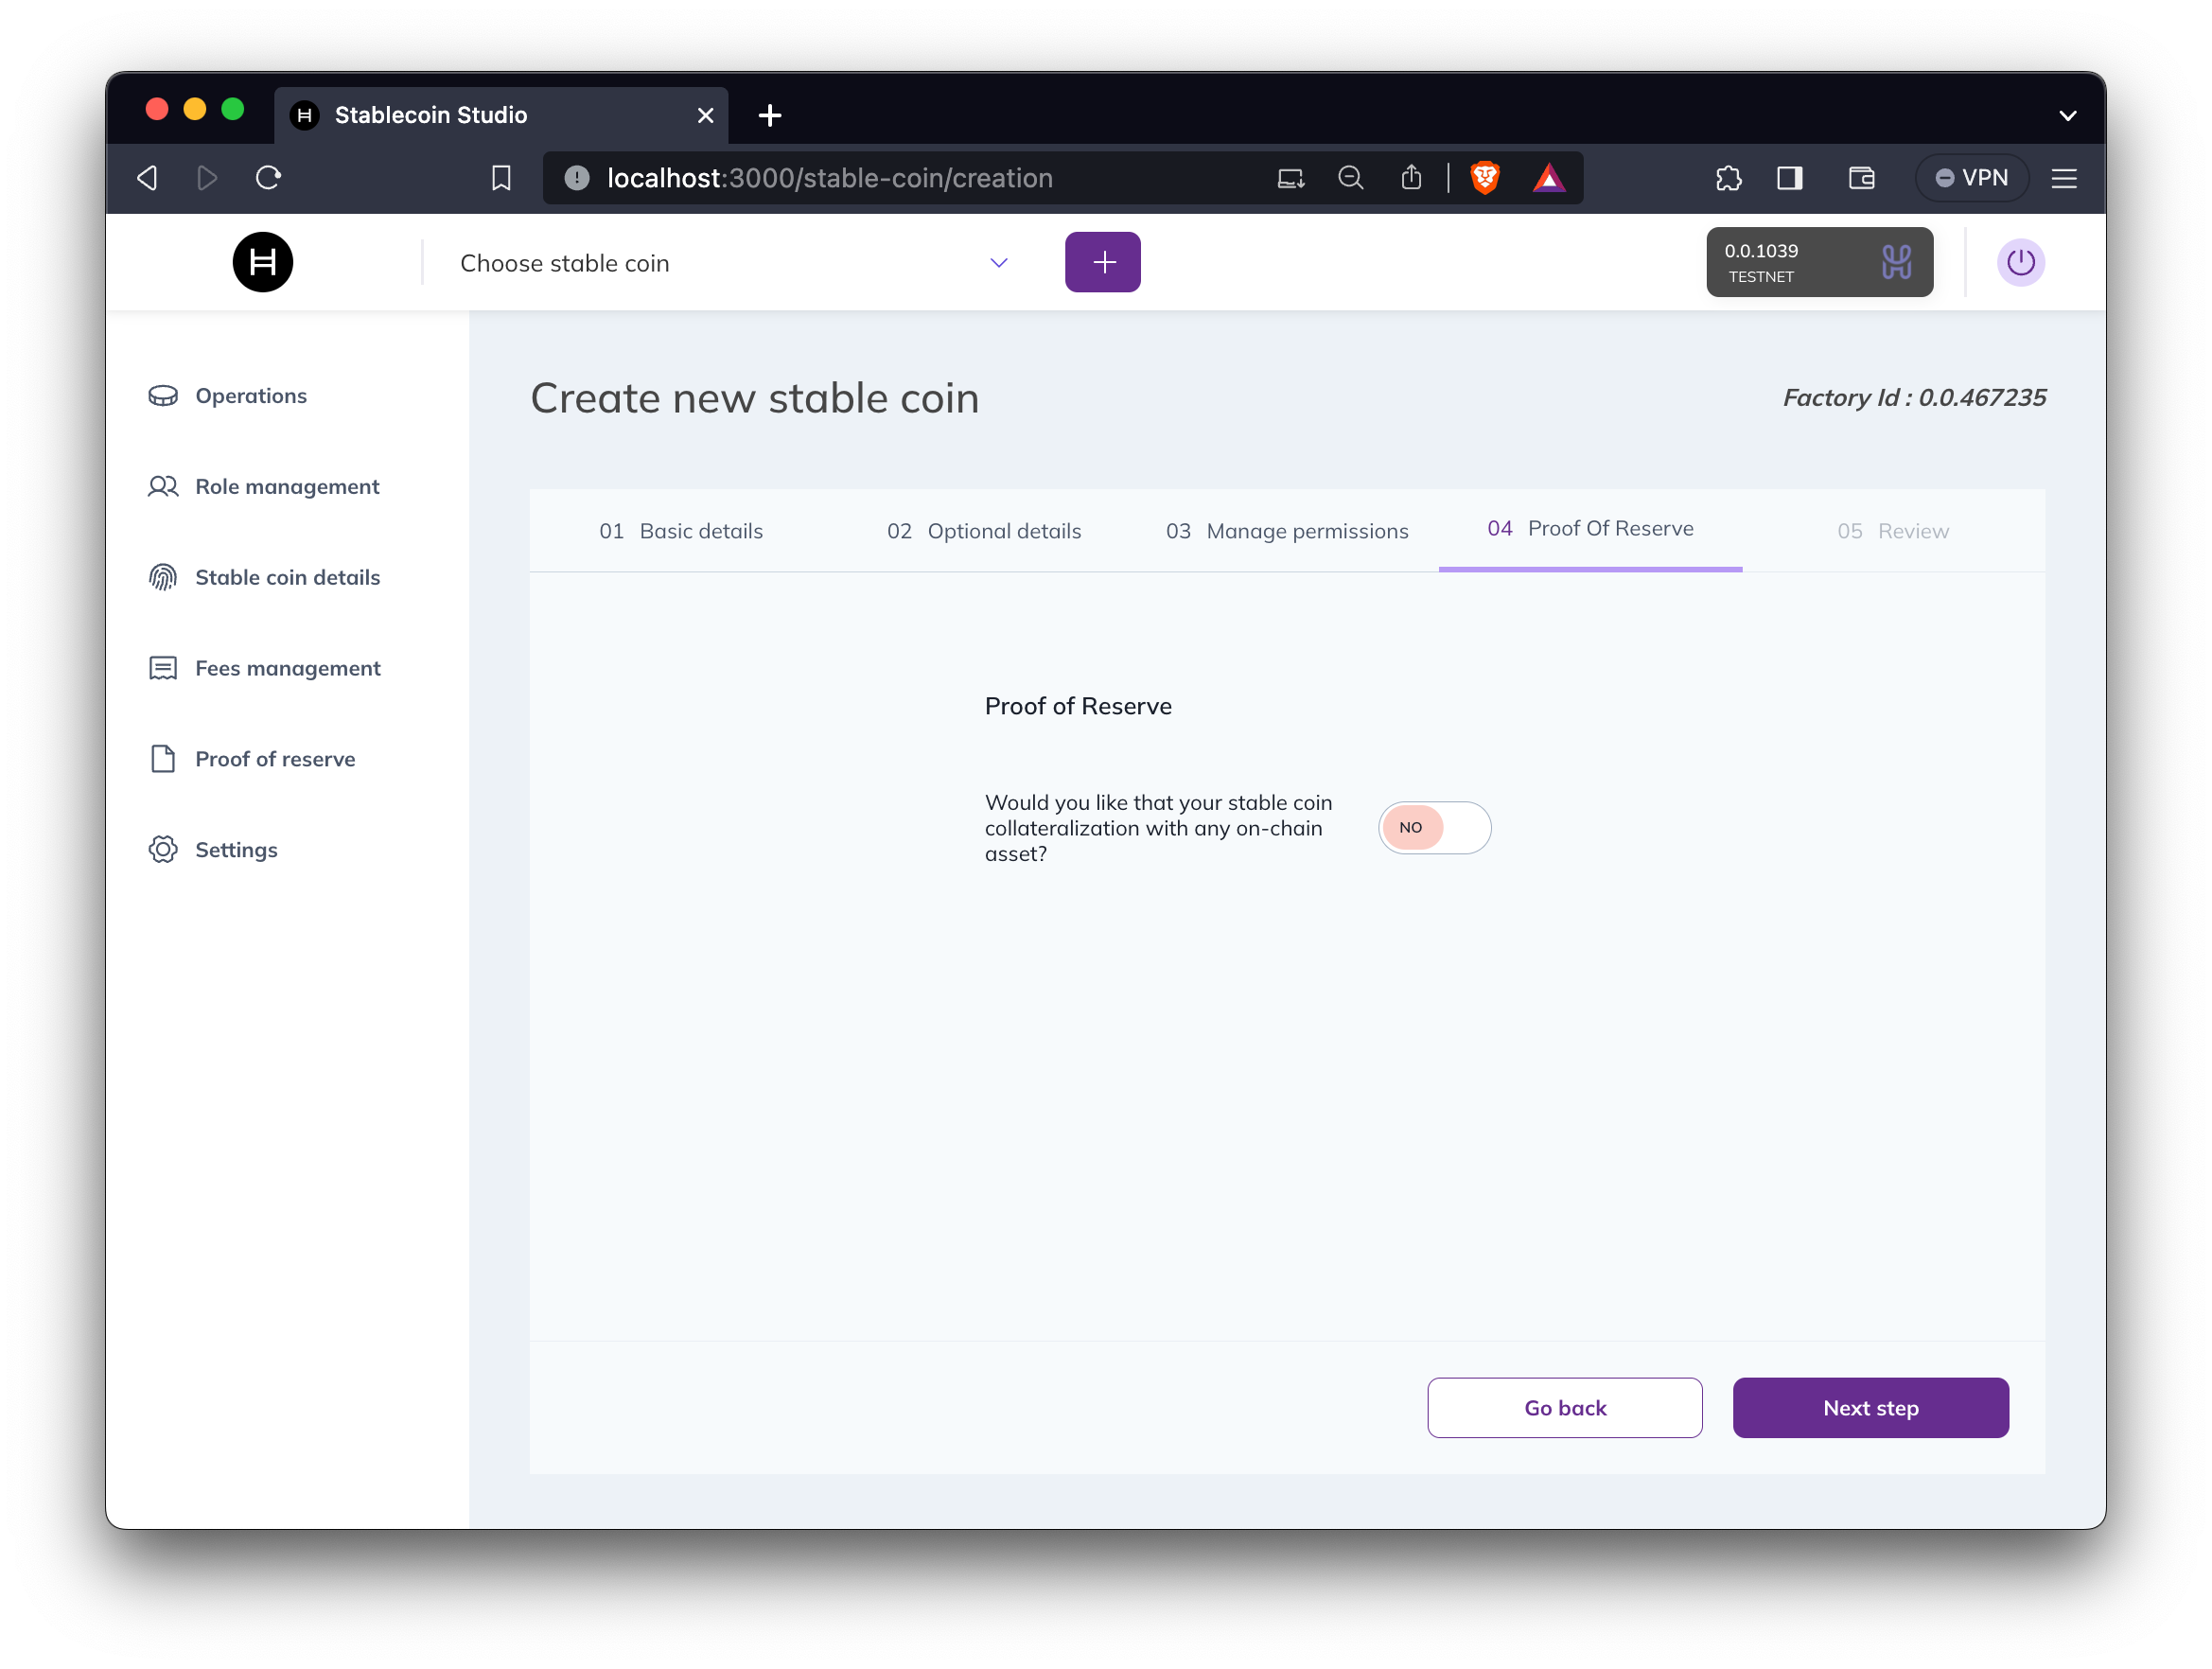
Review
Final validation before creating the stablecoin. Review the stablecoin details and click the “Create stablecoin” button. Validate “Execute Smart Contract” and “Associate Token” transactions in your wallet. Once the stablecoin is created, it will be added to the drop-down list of coins you can access (with the account you used to create the stablecoin).
Operate Stablecoins
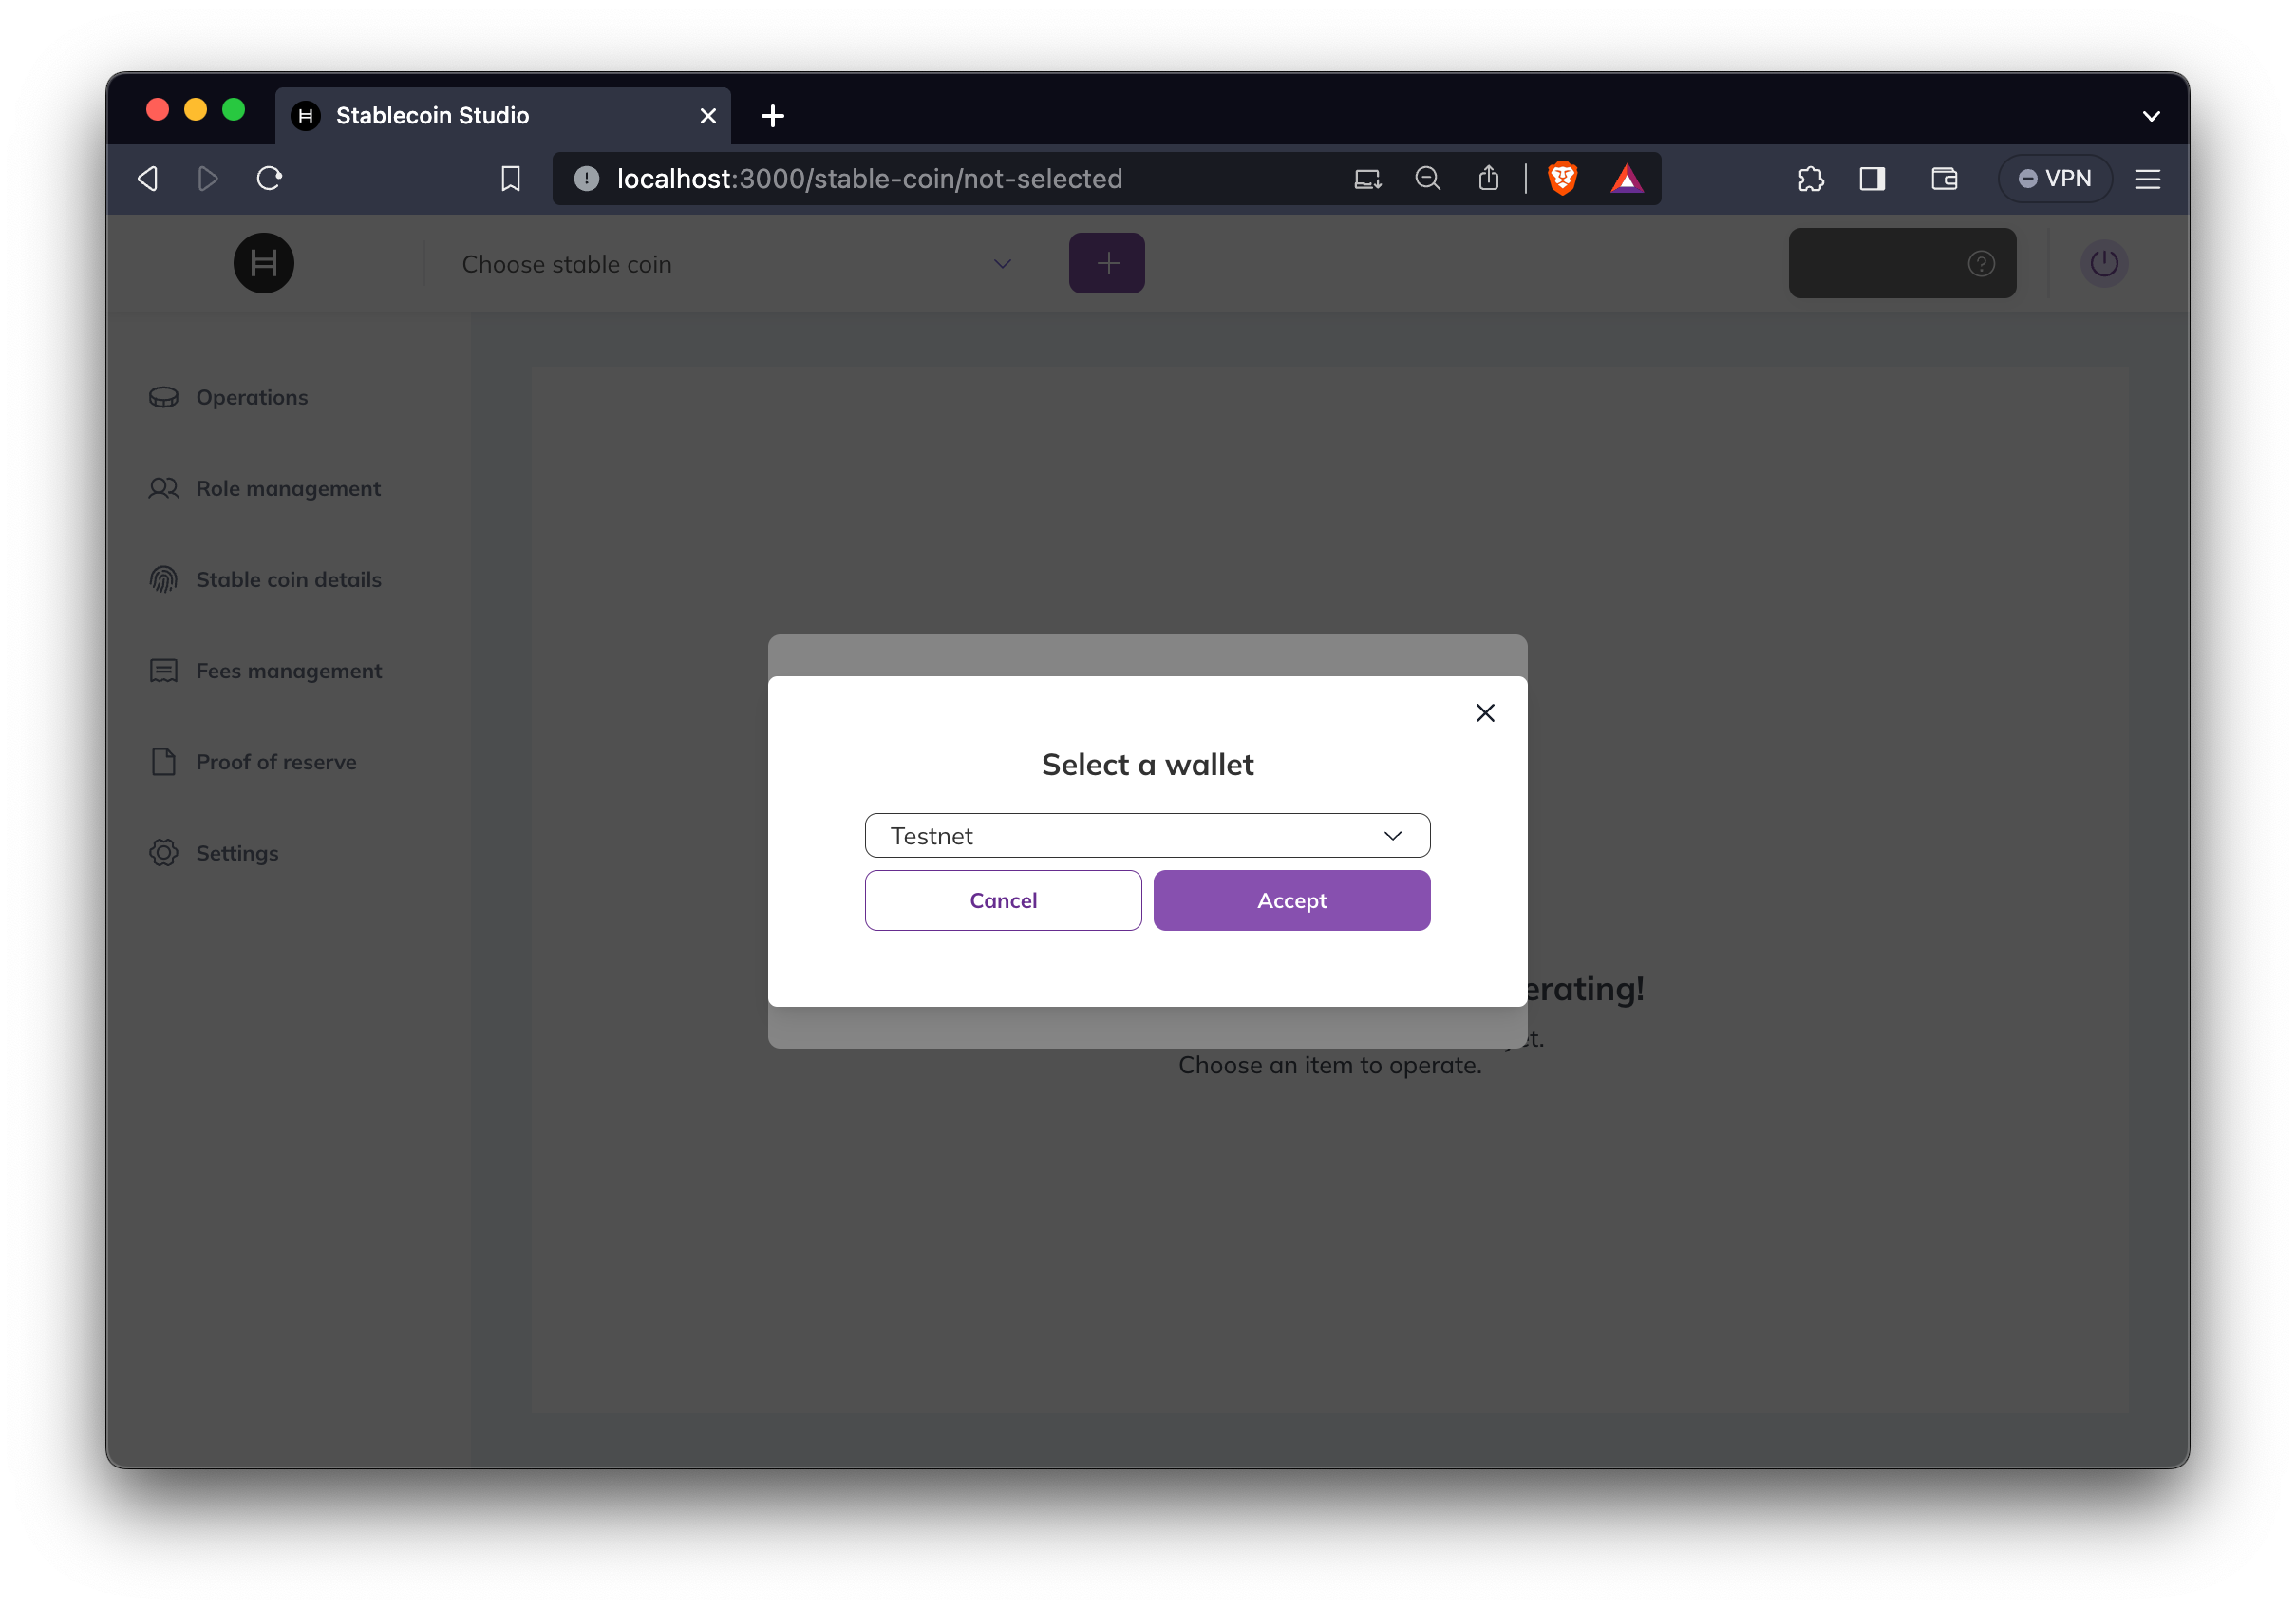
To operate your stablecoin, connect your wallet to the platform. After successful authentication, select the stablecoin you wish to interact with from the drop-down list of available coins. Once the stablecoin information is loaded, navigate to the “Operations” tab. You’ll see a variety of actions and your accessible operations will be tied to the roles assigned to your account for the chosen stablecoin. Here’s a quick rundown of what each operation allows:- Cash In: Deposit assets into your stablecoin account.
- Burn: Permanently remove specific tokens from circulation.
- Get Balance: View the current balance of your stablecoin account.
- Rescue: Recover tokens in unique scenarios.
- Rescue HBAR: Specialized recovery for HBAR.
- Wipe: Clear particular stablecoin balances.
- Freeze Account: Temporarily disable transaction capabilities for an account.
- Unfreeze: Lift the freeze status from an account.
- Check Account Frozen Status: Verify whether an account is frozen.
- Grant KYC: Approve an account for KYC verification.
- Revoke KYC: Remove previously granted KYC approval.
- Check KYC: Confirm the KYC status of an account.
- Danger Zone: Access to operations that carry higher risk, generally because they affect every token owner (PAUSE) or can not be rolled back (DELETE).

Manage Roles
In Stablecoin Studio, role management is a pivotal feature that gives you control over various functions related to your stablecoin. If your account has been designated with the “Admin Role,” you unlock the capability to manage other roles for your stablecoin, making governance easier and more secure. Roles you can manage include:- Cash In: Permits an account to deposit or ‘cash in’ assets.
- Burn: Authorizes an account to remove tokens from circulation permanently.
- Wipe: Allows an account to clear specific balances.
- Rescue: Grants the ability to recover tokens in special circumstances.
- Pause: Enables stopping all transactions temporarily, which is useful in emergency situations.
- Freeze: Authorizes freezing specific accounts, disabling their ability to transact.
- Delete: Allows the removal of accounts or certain data, irreversible.
- Admin Role: Provides overarching administrative privileges, often reserved for key governance participants.

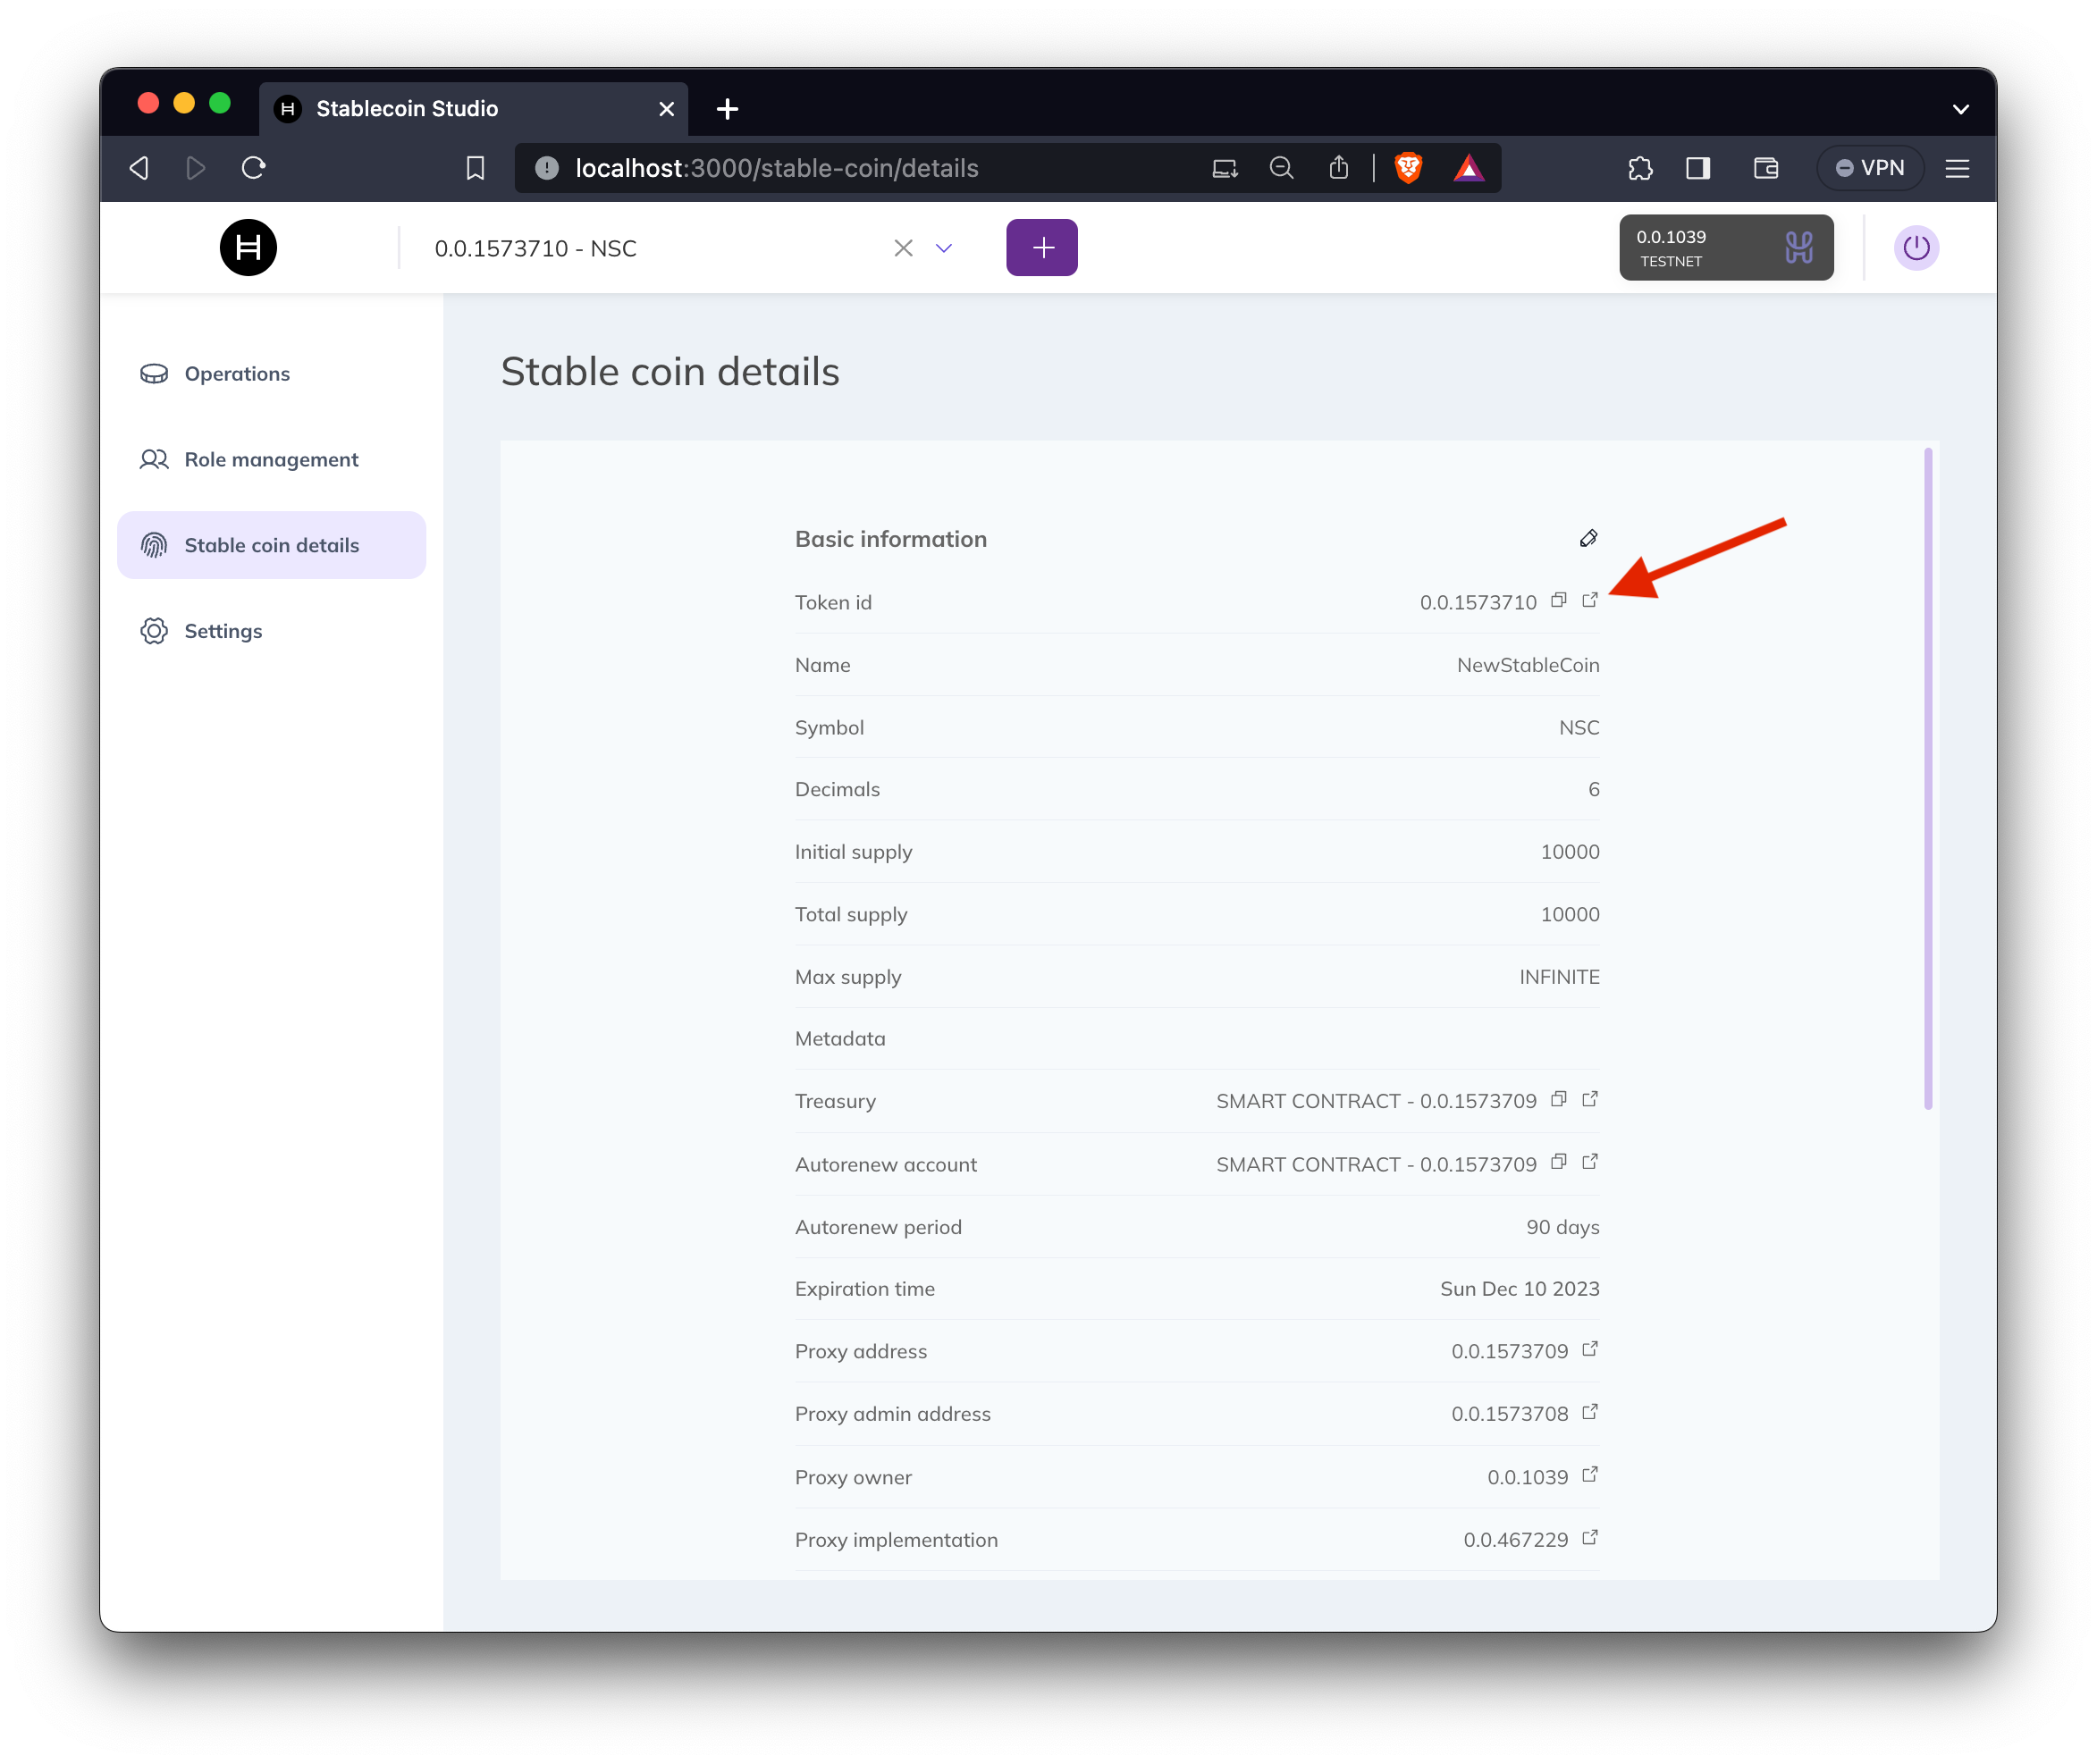
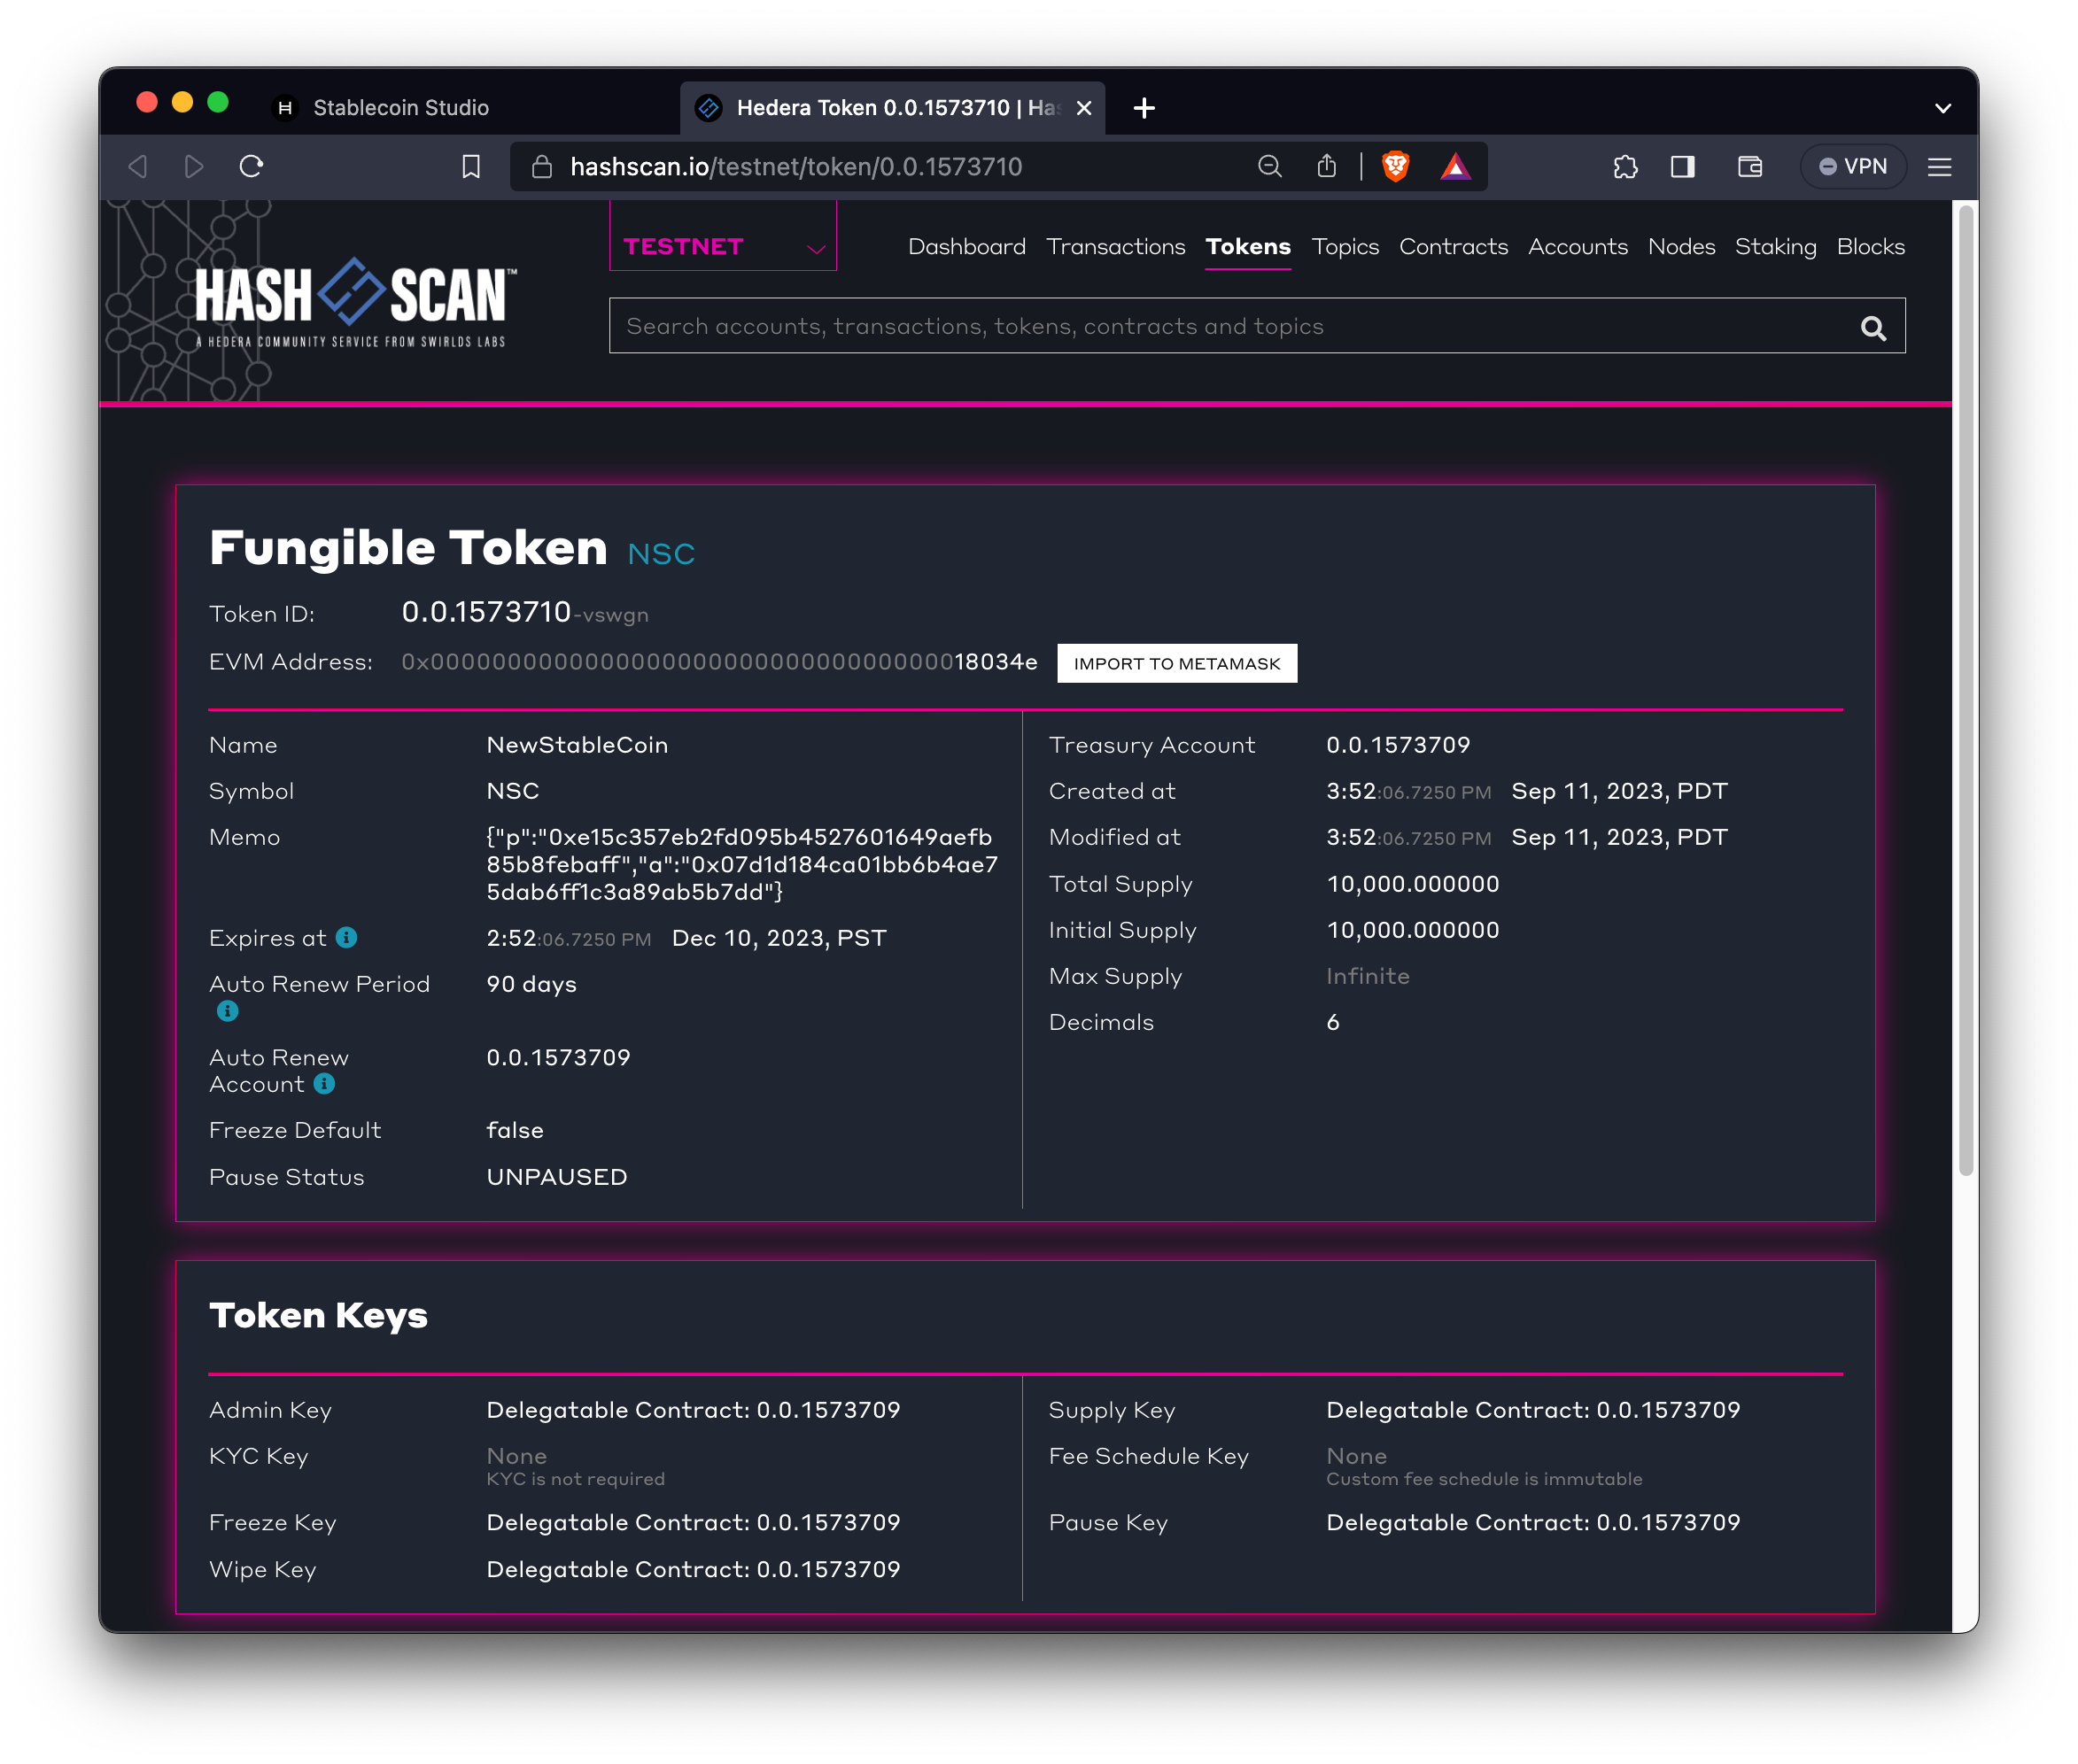
Stablecoin Details
This menu option displays stablecoin details and allows the user to update some token properties, like the name, symbol, and keys. Clicking on the pencil icon located at the top right side of the screen turns the information page into a form where these properties can be modified by the user. 🎉 Congrats on creating your first stablecoin with Stablecoin Studio! View the transaction details on HashScan by looking up your new token ID or clicking the HashScan Explorer link from the “Token ID” field.